
Our History
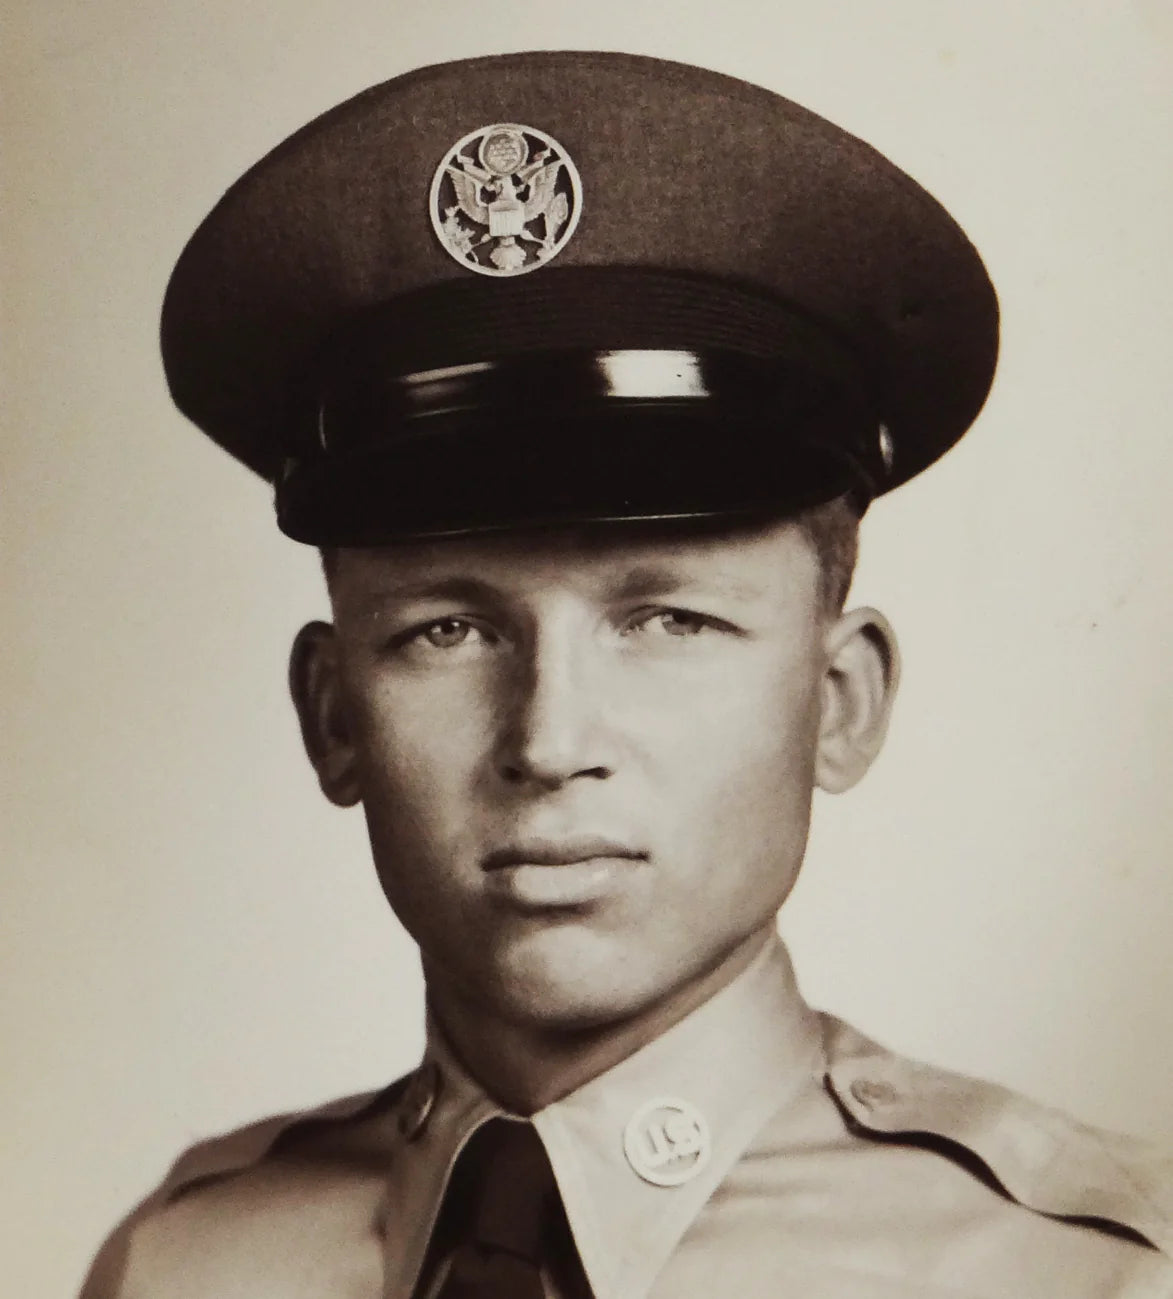
Milton Kyser grew up the son of cotton farmers. After second grade, he told his mother he would “rather pick cotton than go back to school.” And that is what he did. Milton was a hard worker. It is what drove him to join the Air Force. It is what carried him through decades as a professional machinist, making ball bearings for oil and gas rigs. After retirement, it was that same get-up-and-go that kept Milton Kyser working on his unique capo design. Well into his sixties, Milton would visit the clubs of Deep Ellum night after night, handing out his Kyser Quick-Change Capos to local Texas musicians and saying, "Here's my number. Let me know what you think."

Our Approach
From the very beginning, Milton did everything himself, by hand. He made sure that every Kyser is made the same way–by the hands of the Kyser family. We wouldn’t have it any other way, because making capos is what we know. We’ve been doing it for decades in Kaufman, Texas, a 5.6-square-mile town with little more than 3,500 people, and 4 barbecue restaurants.
Our Future
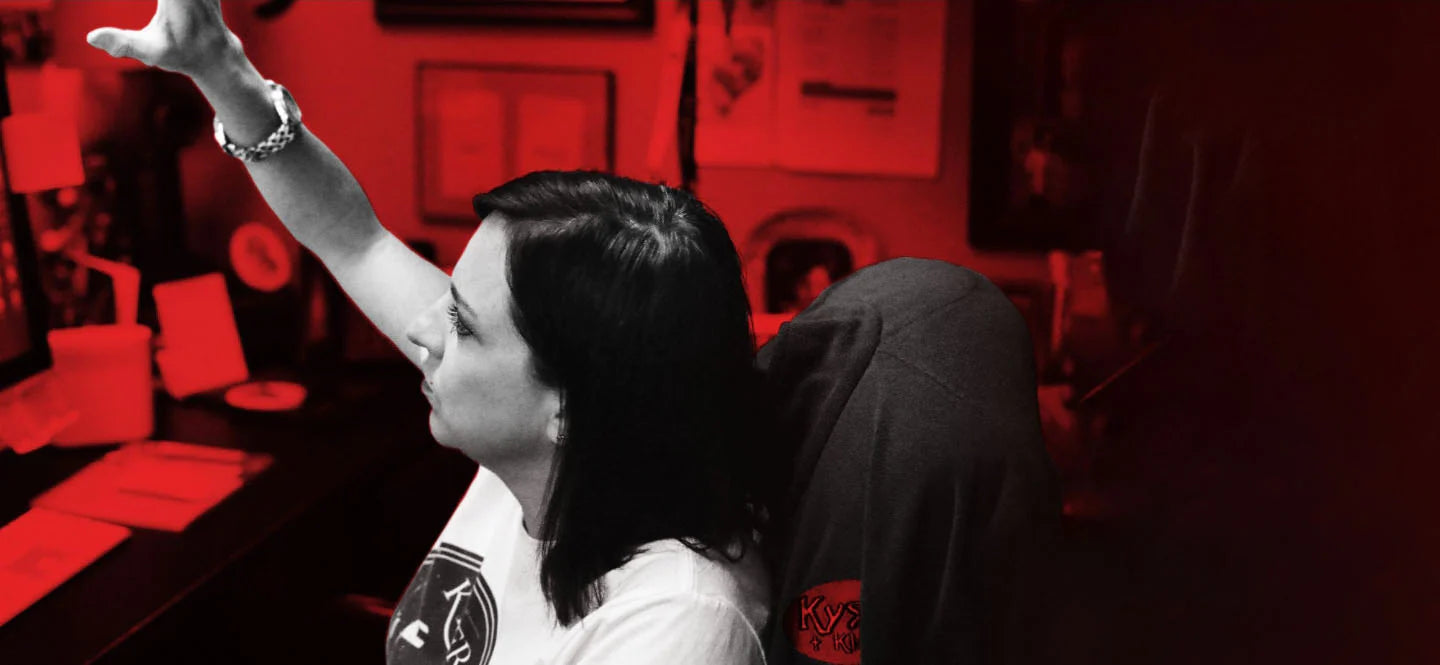
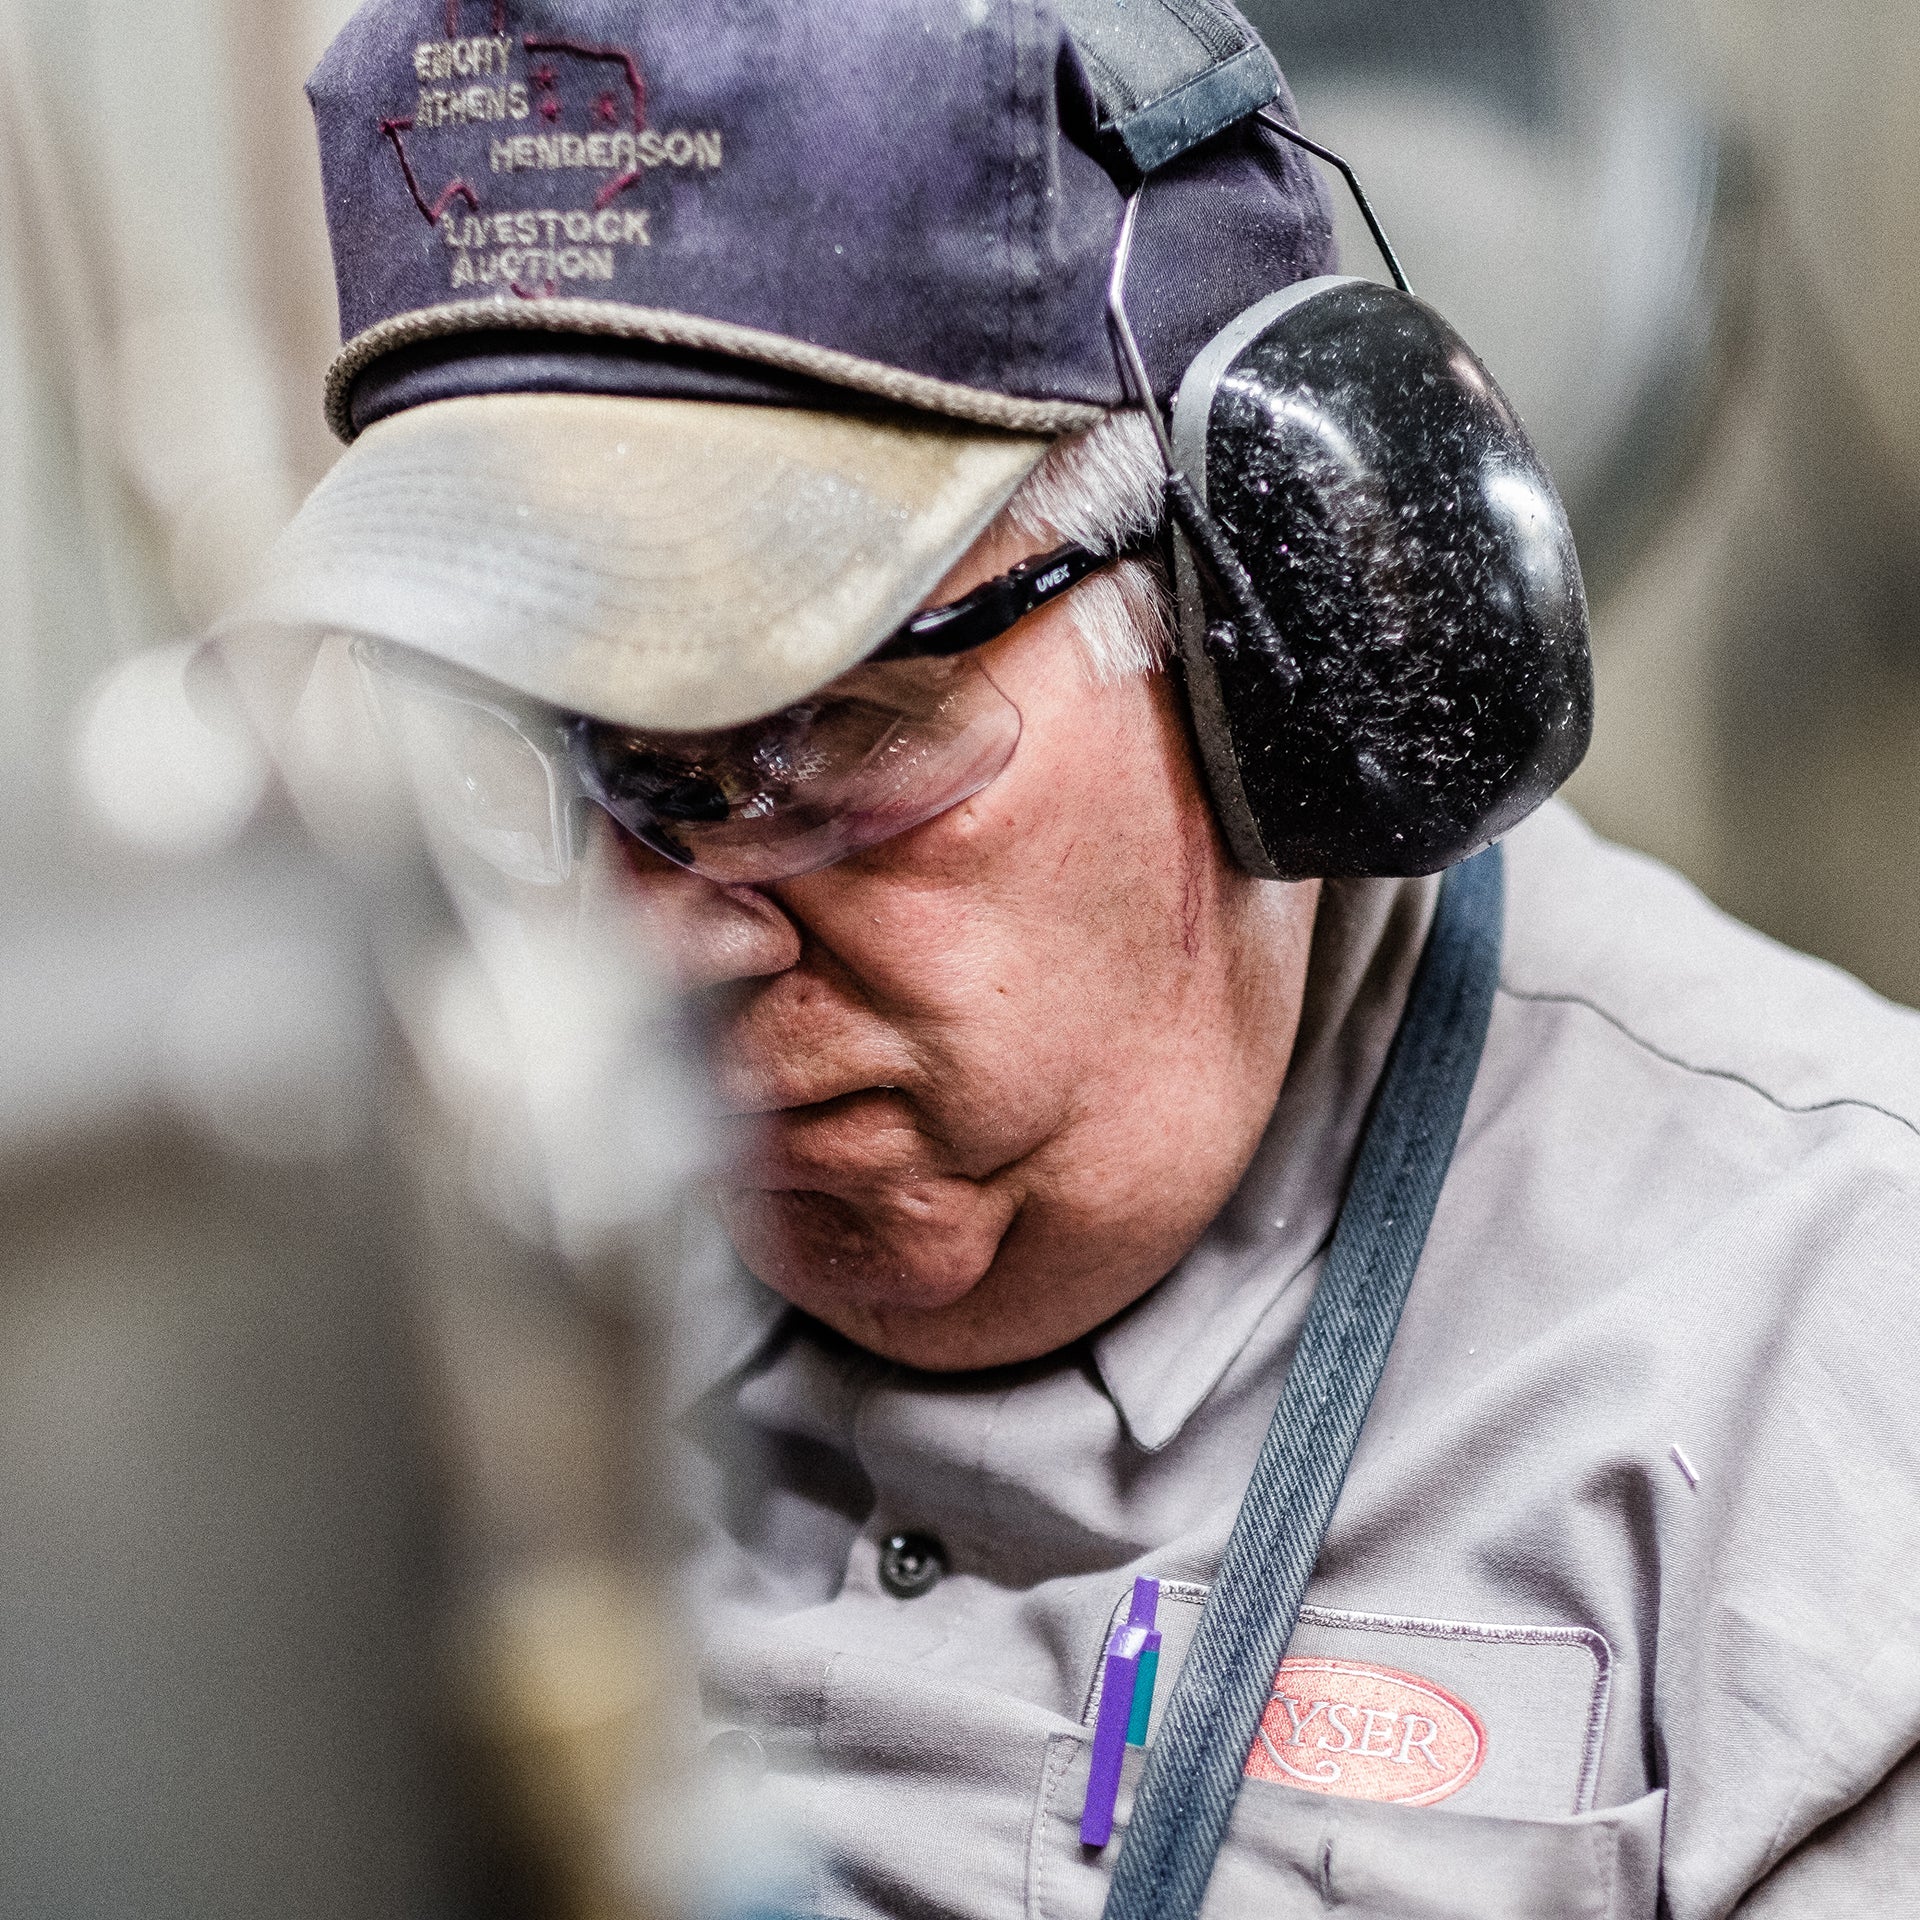
It takes 20 people to make just one Kyser capo. We hand-craft each one in a multi-step process from the best American-made materials available. We even still the custom machinery designed by Milton Kyser himself. That’s because good parts and good work make good products. At Kyser, it’s just that simple. Quality over quantity, or don’t bother coming in tomorrow. It’s Milton’s recipe; it’s the East Texas way, it's remained unchanged for nearly 40 years.
The Kyser Timeline
1975
Milton Kyser, a machinist with a love of connecting people through music purchases a patent from a friend and begins developing the Kyser Quick-Change® Capo. Soon, he creates his own unique design and receives a patent for it.
1979
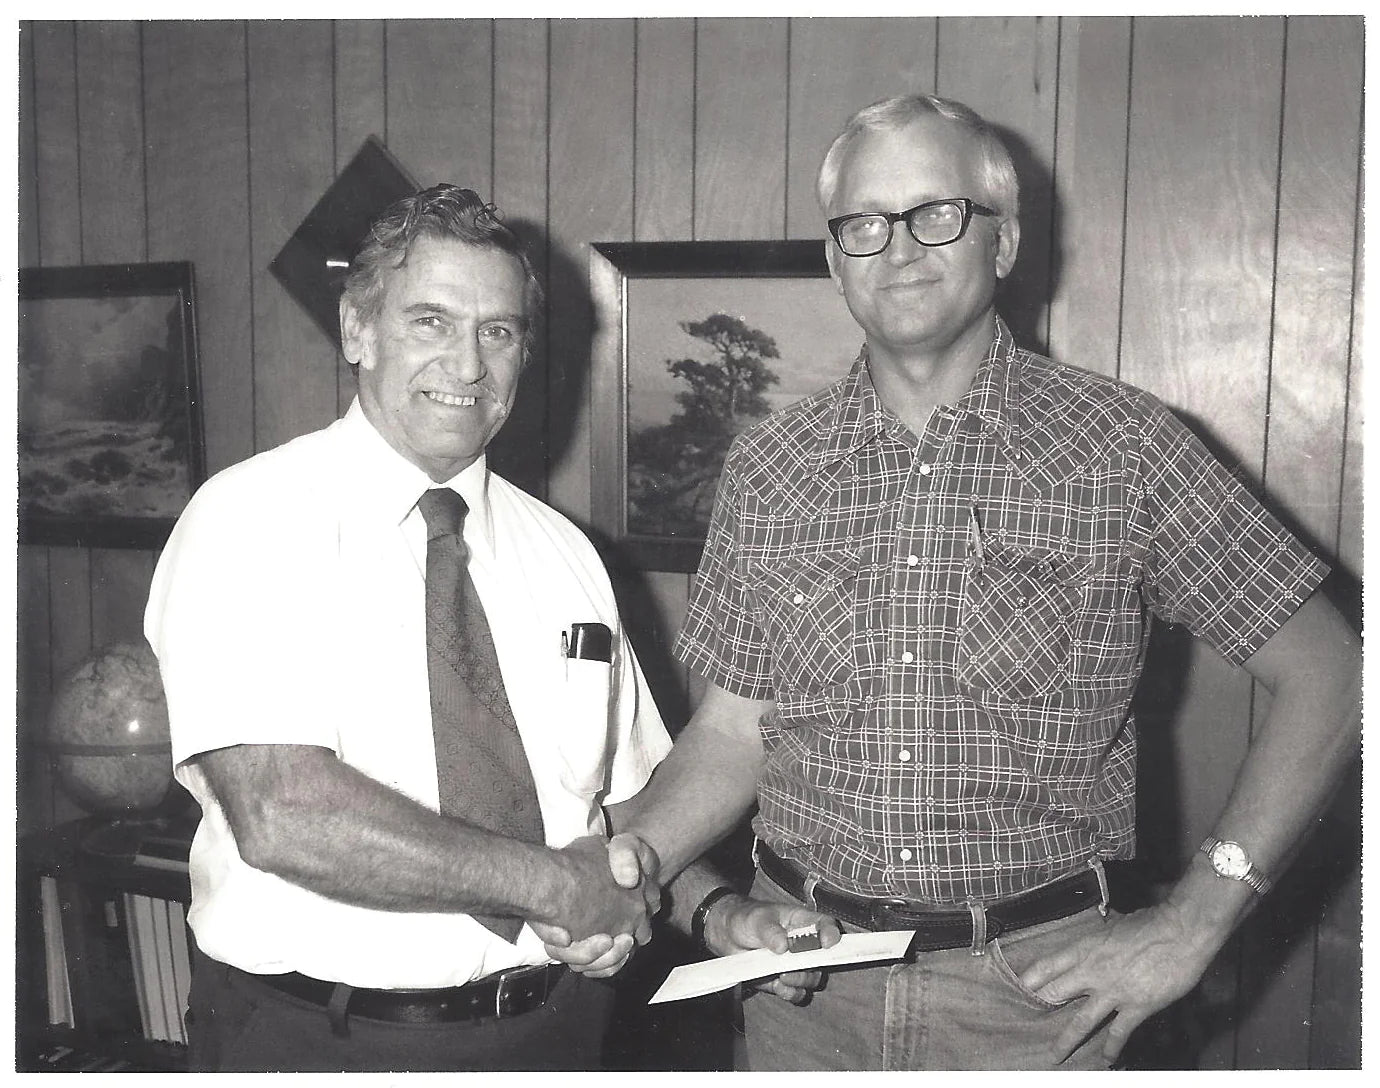
To help musicians change keys effortlessly with one hand, the ambitious founder invents a trigger mechanism for guitar capos that remains remarkably unchanged to this day.
1999
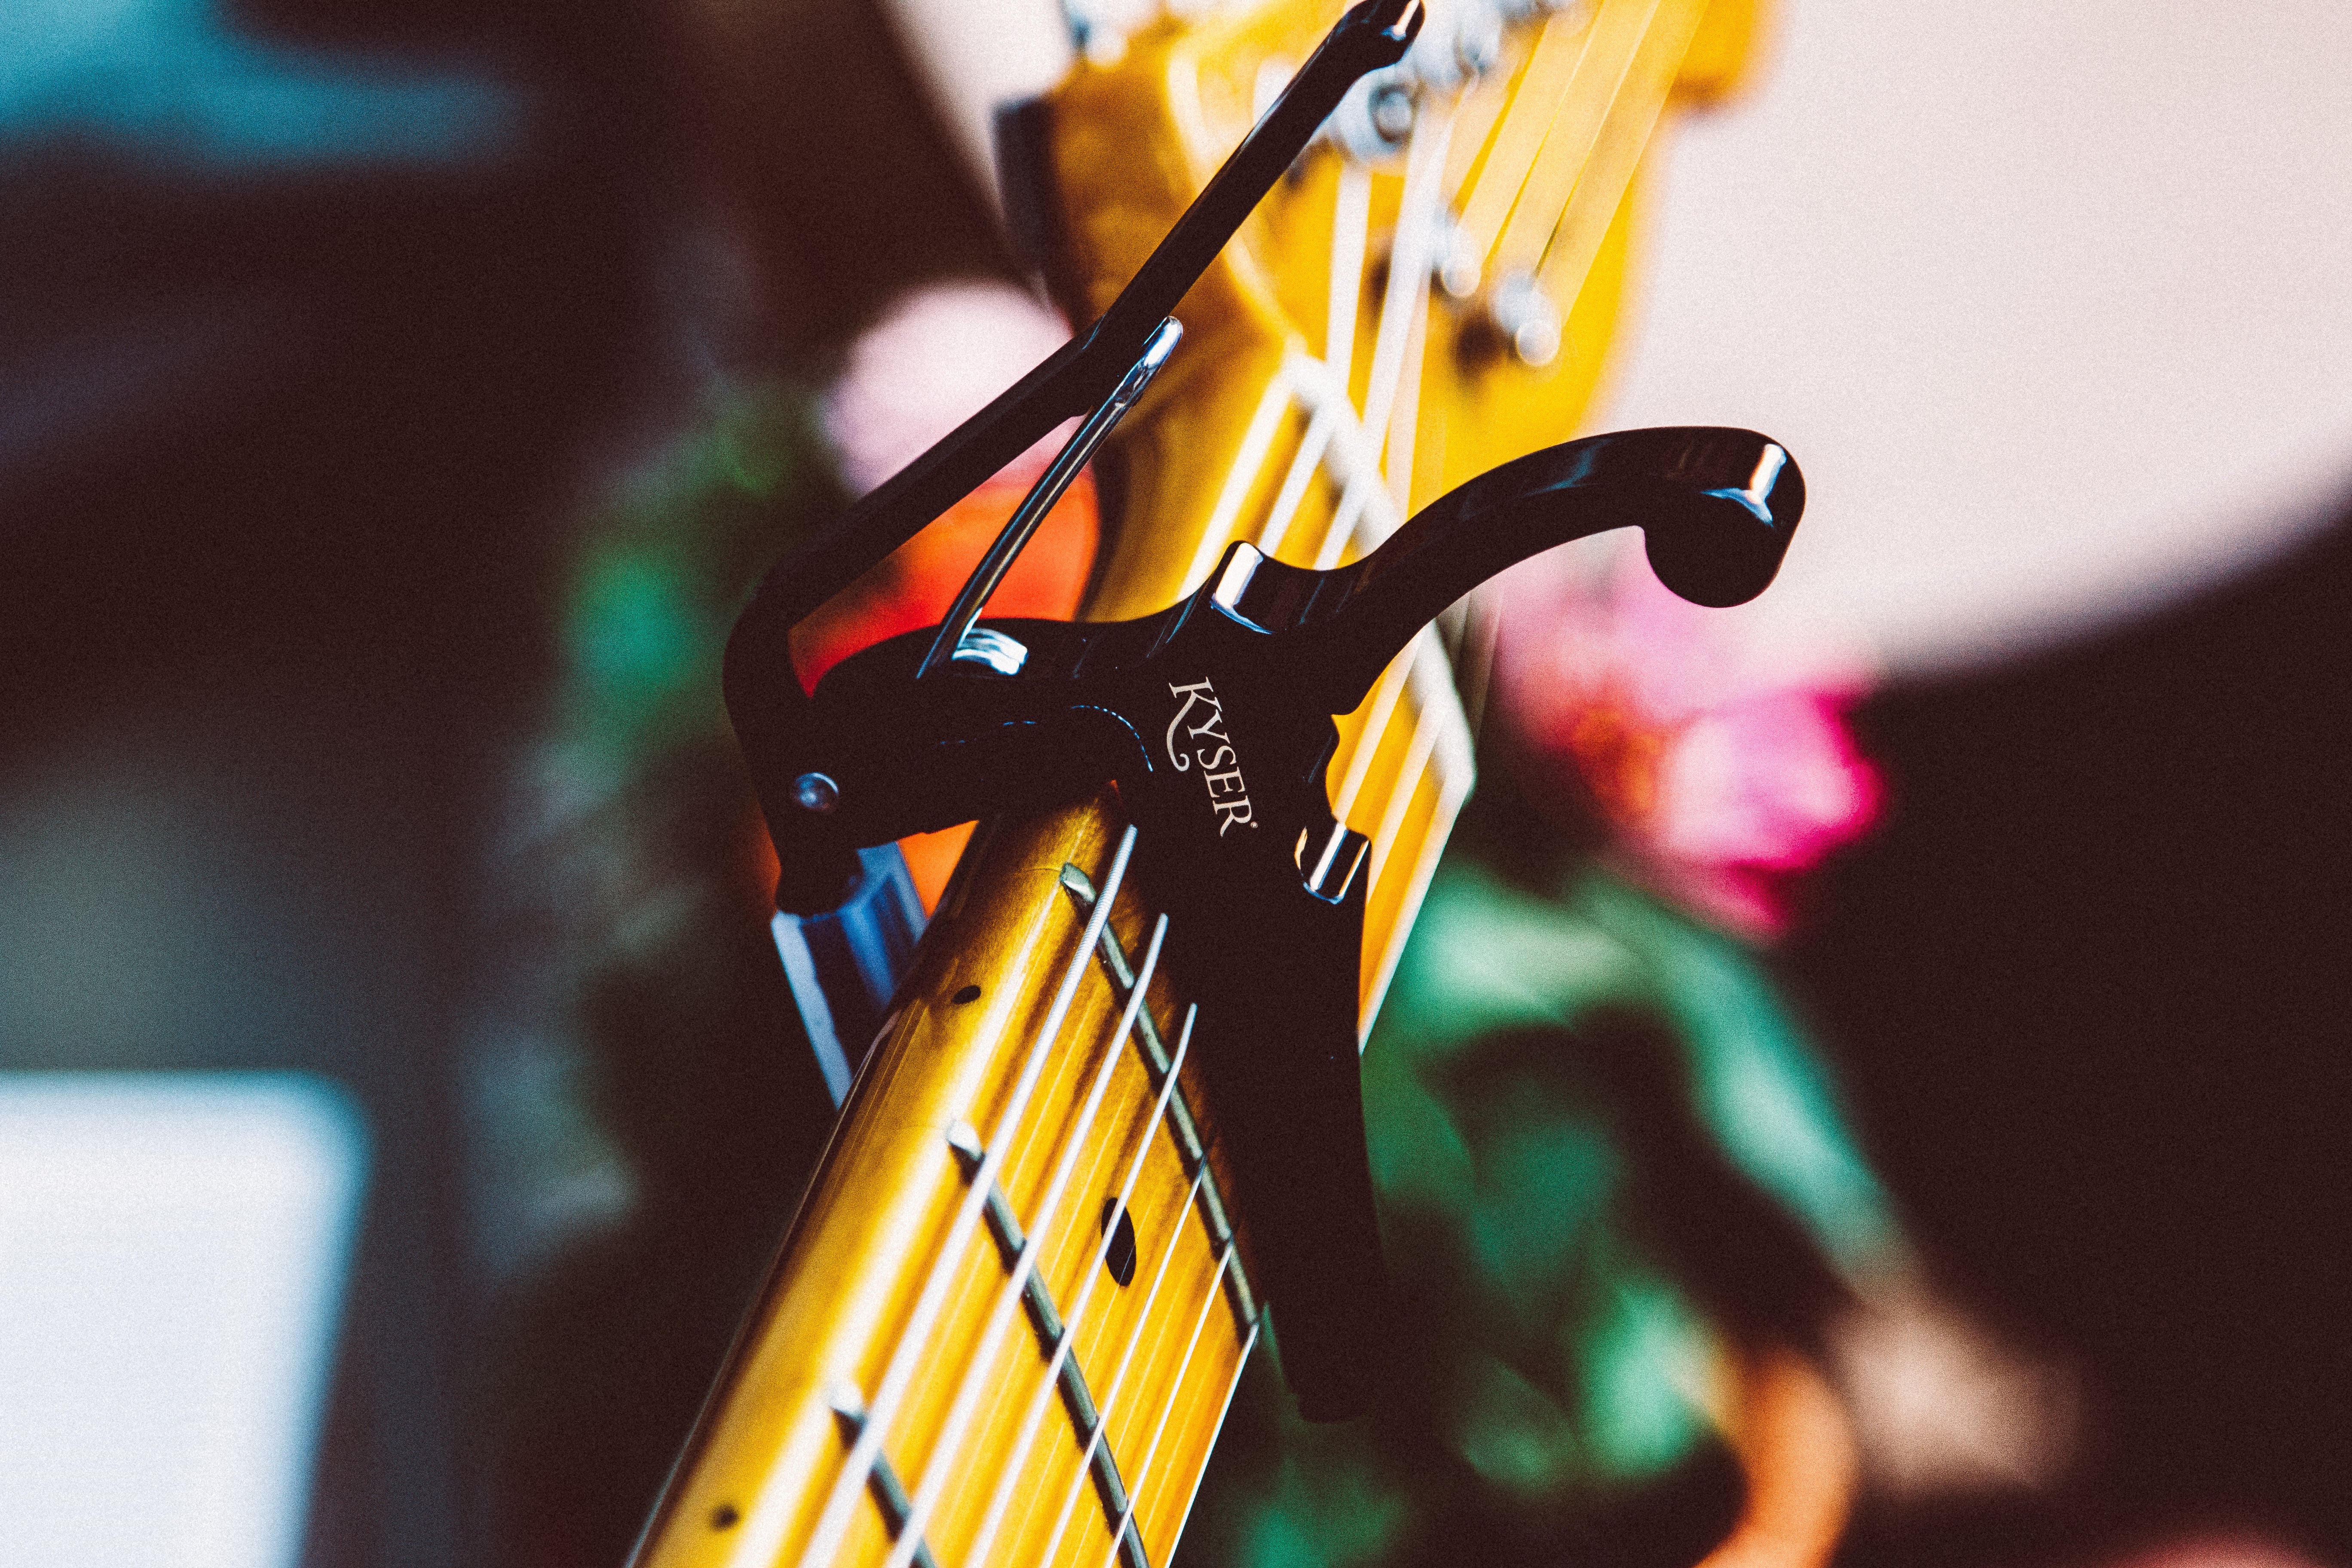
The Quick-Change® Capo line welcomes its first non-acoustic capo, which boasted a special radius and lower tension developed especially for streamlined electric necks.
2000
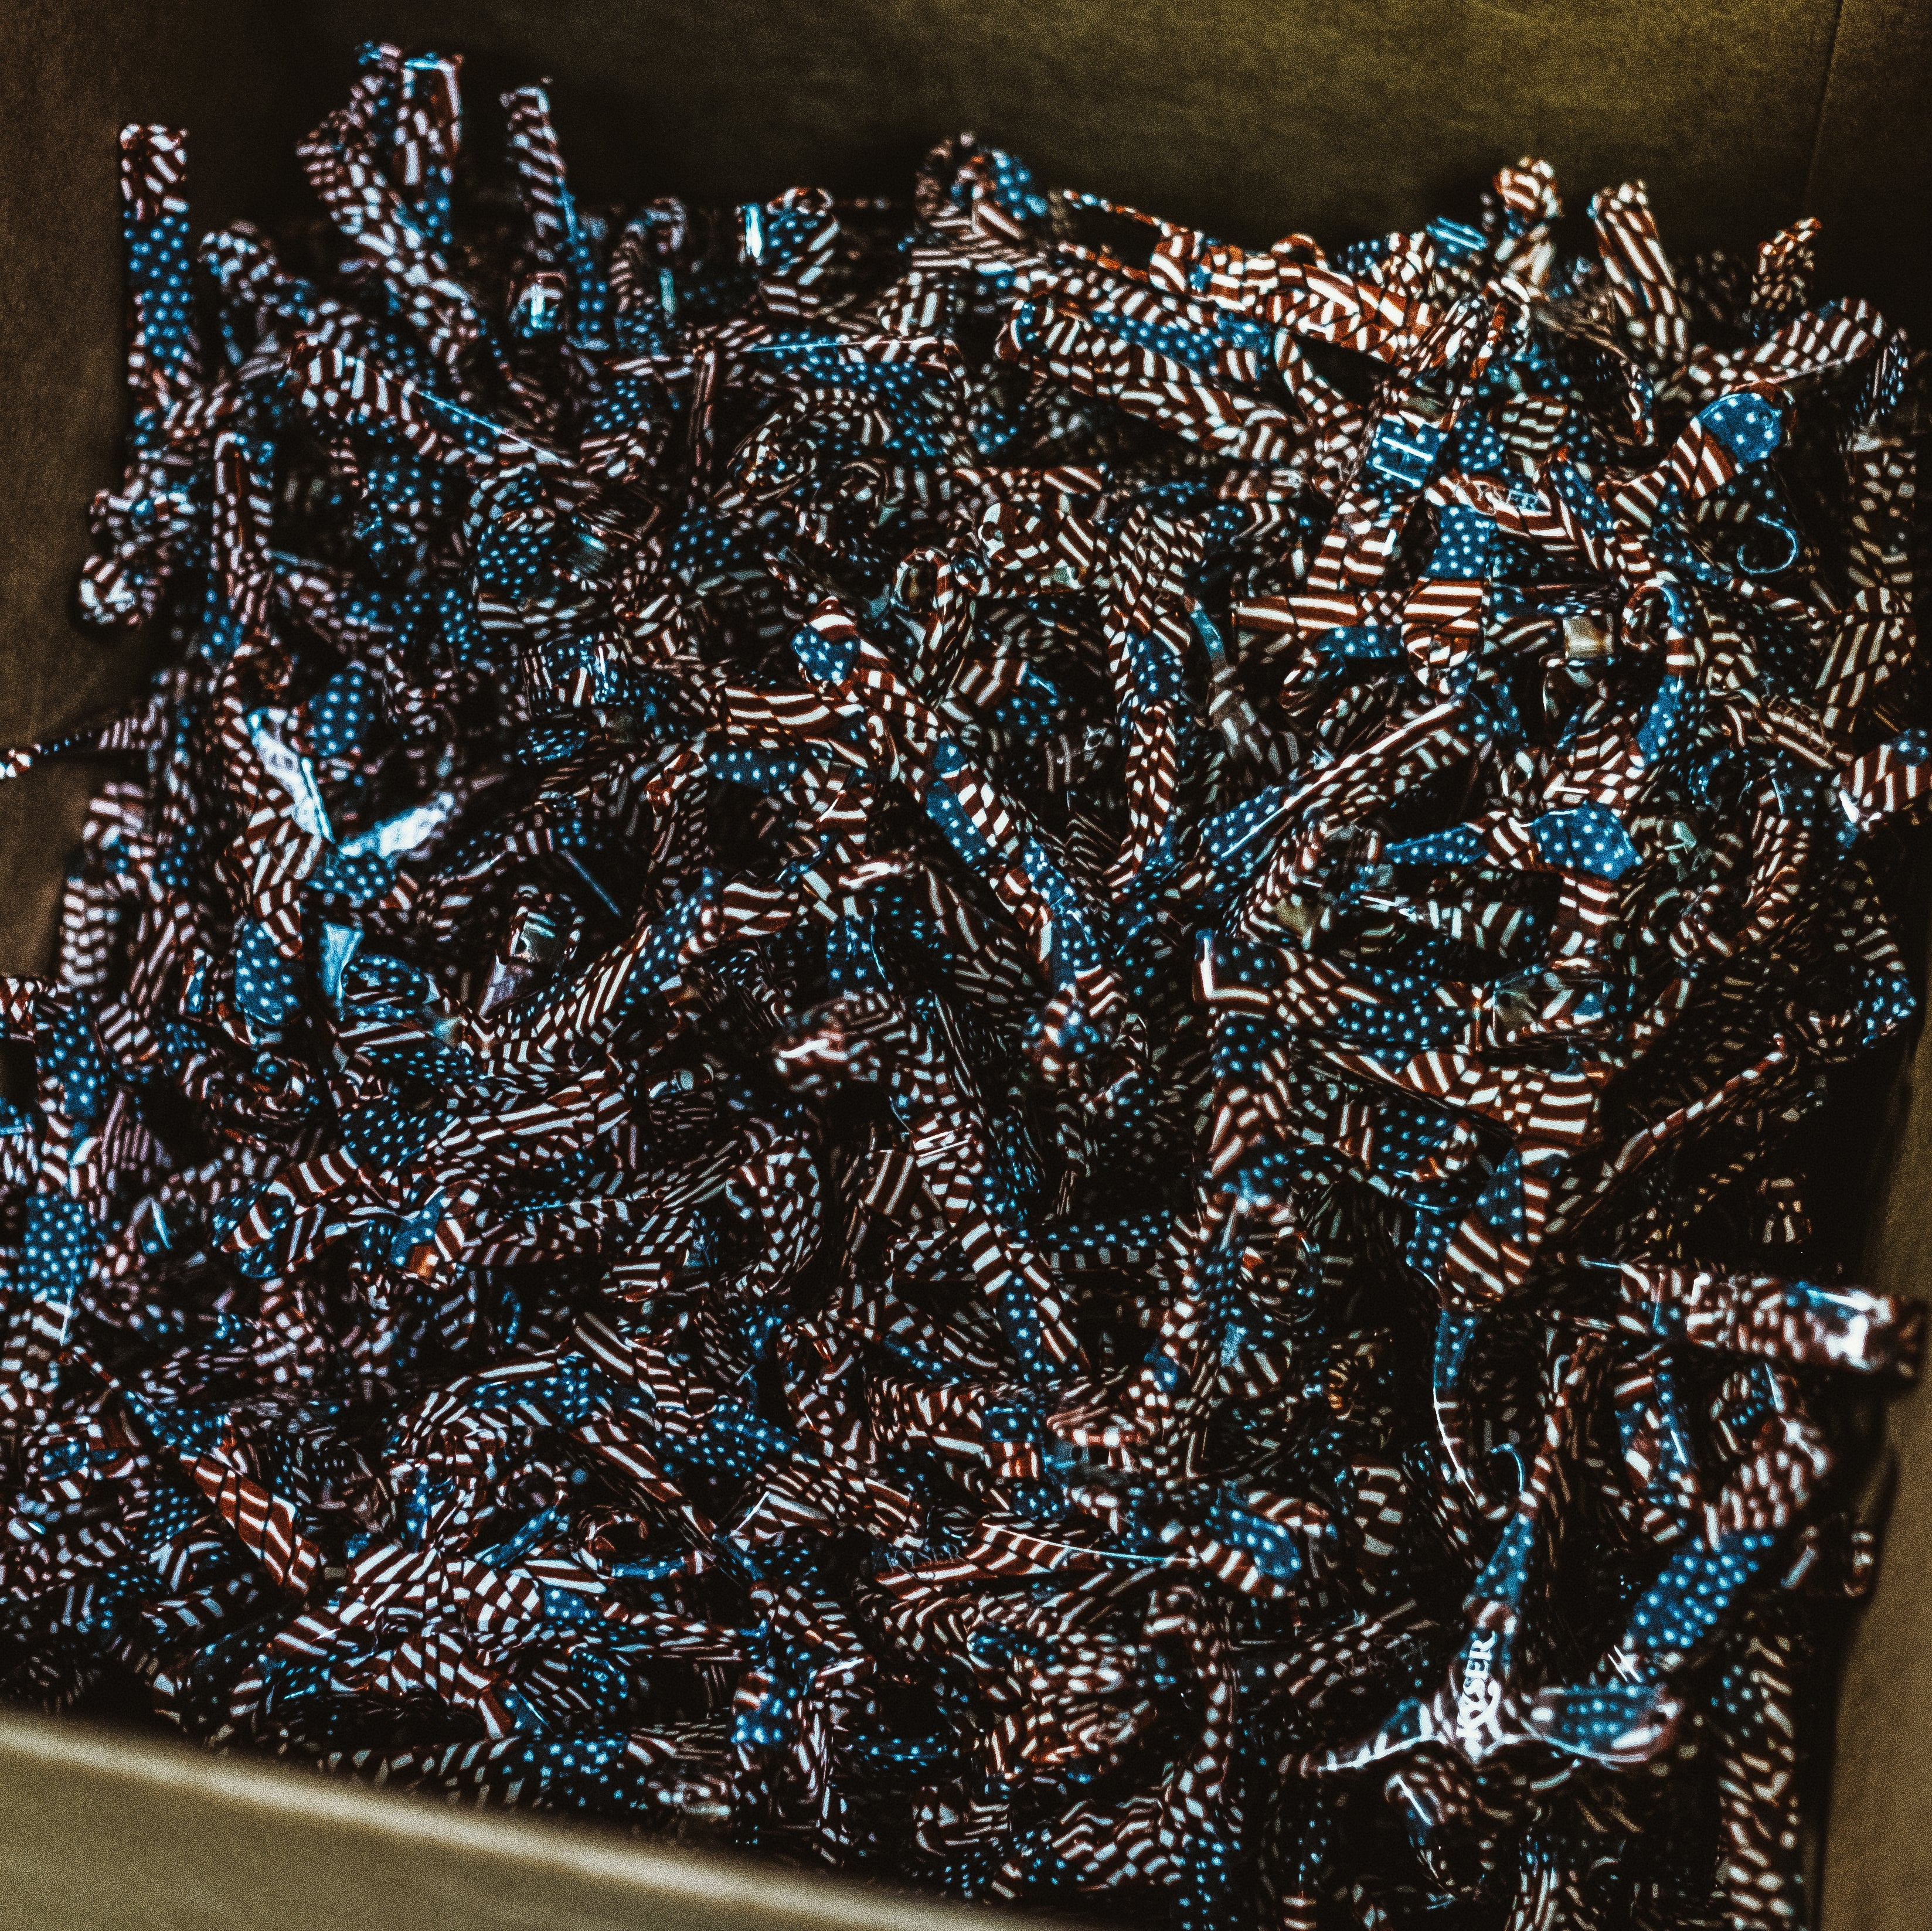
Kyser introduces its first "sublimated" capo, broadening the company's creative capo possibilities beyond paint colors and into custom-dyed patterns and designs. The KG6F freedom capo, was a nod to Milton's time as a Korean War soldier and a company-wide commitment to supporting vets with music.
2006
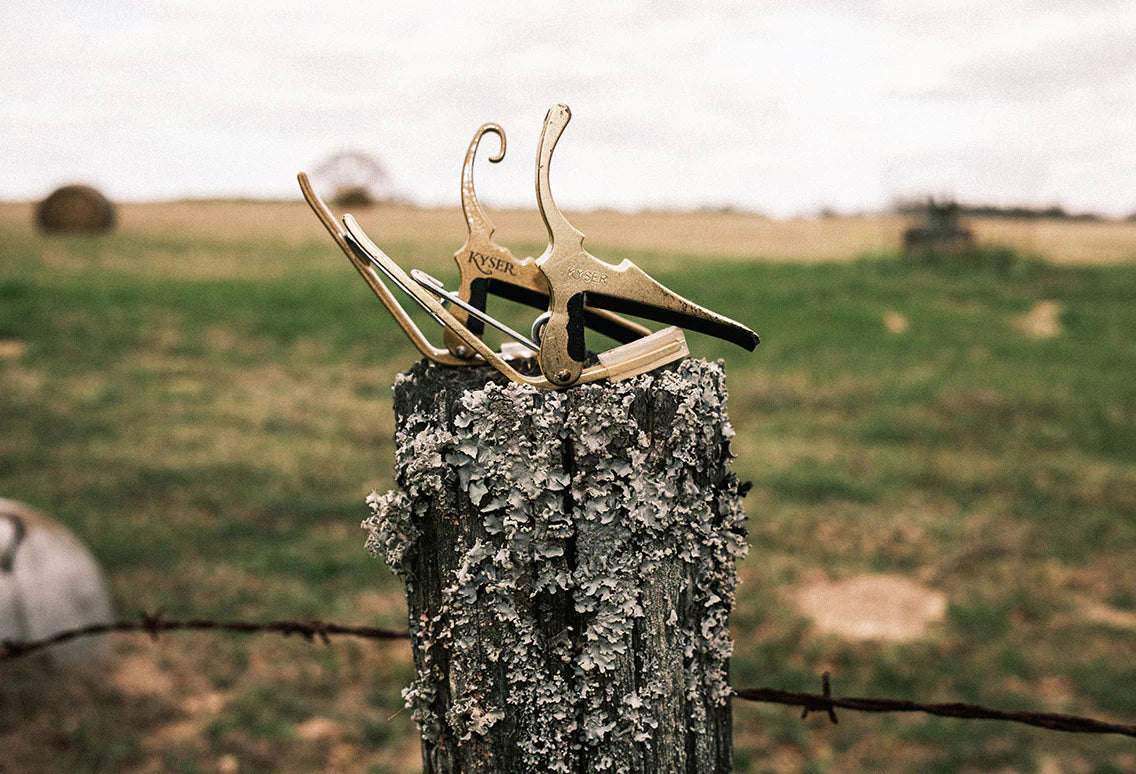
Once hand pressed into the aluminum capo body, Kyser evolved its signature logo imprint by switching the process to a special ink stamp.

2012
Milton passes the Kyser torch to his great-niece Meredith Attebery, who currently assumes the role of Company Owner and President. Her husband, Scott, serves as Kyser's CEO. Milton was nearing 80 years old at the time of his retirement.
2020
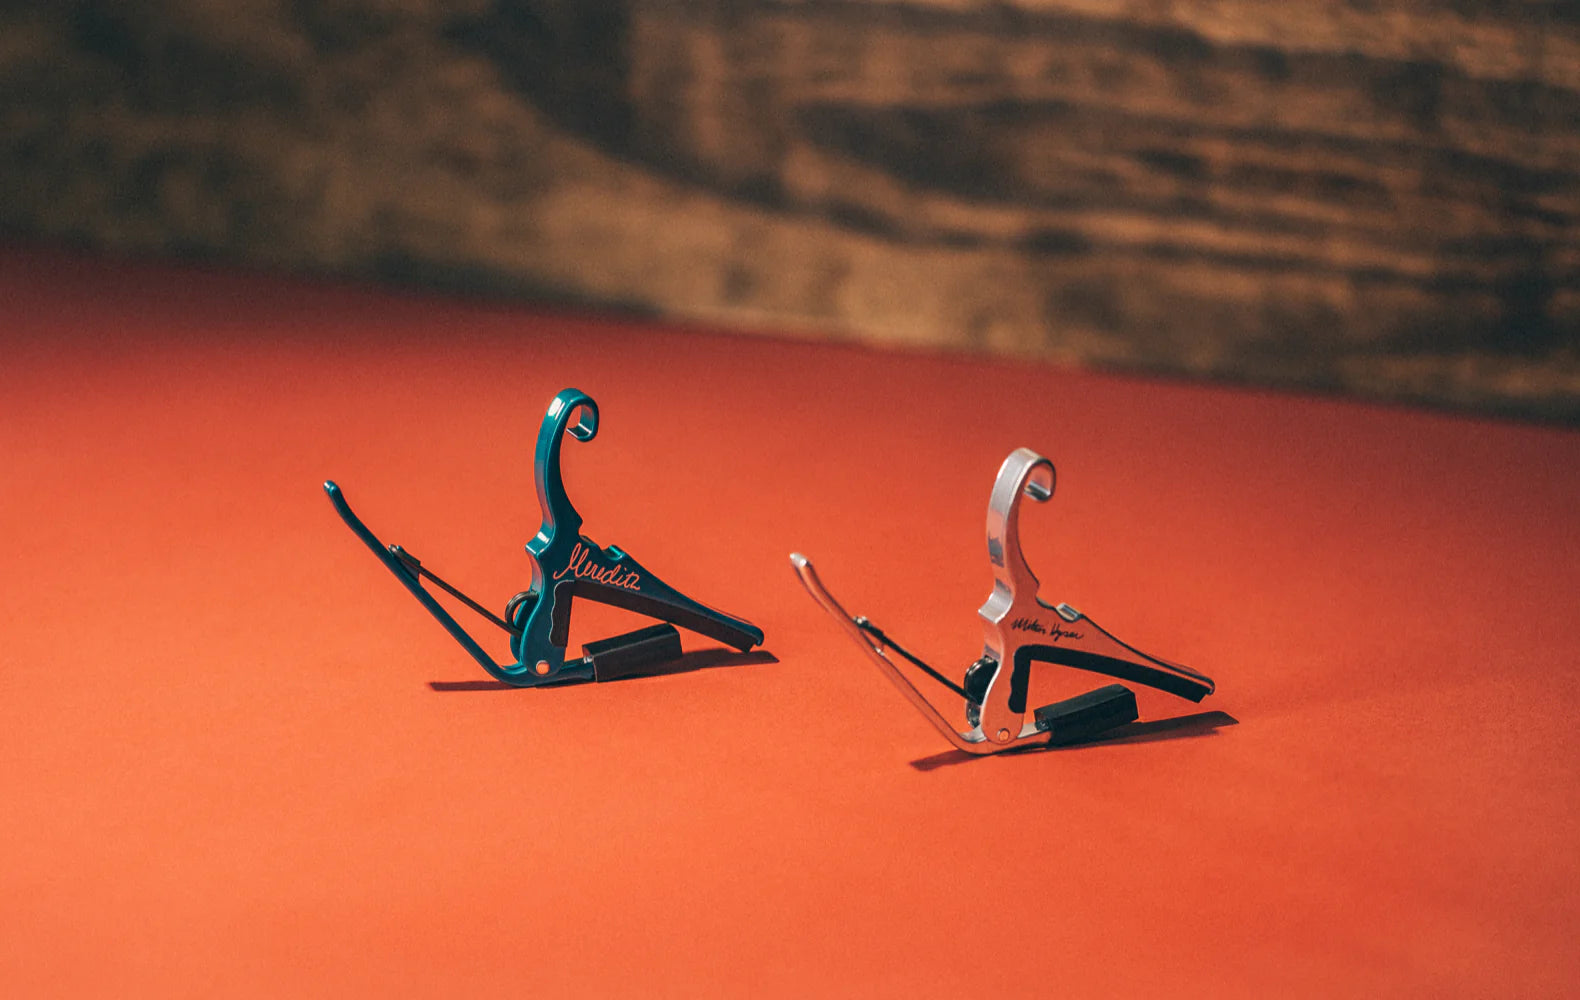
The company celebrates 40 years in the business by debuting its first signature capos, appropriately named the "Milton" and the "Meredith".
01
Cutting the Metal
Our capos are cut from high-quality aluminum extrusion bodies of handles, stacked with the utmost attention to detail to guarantee the perfect cut.
02
Milling The Bodies
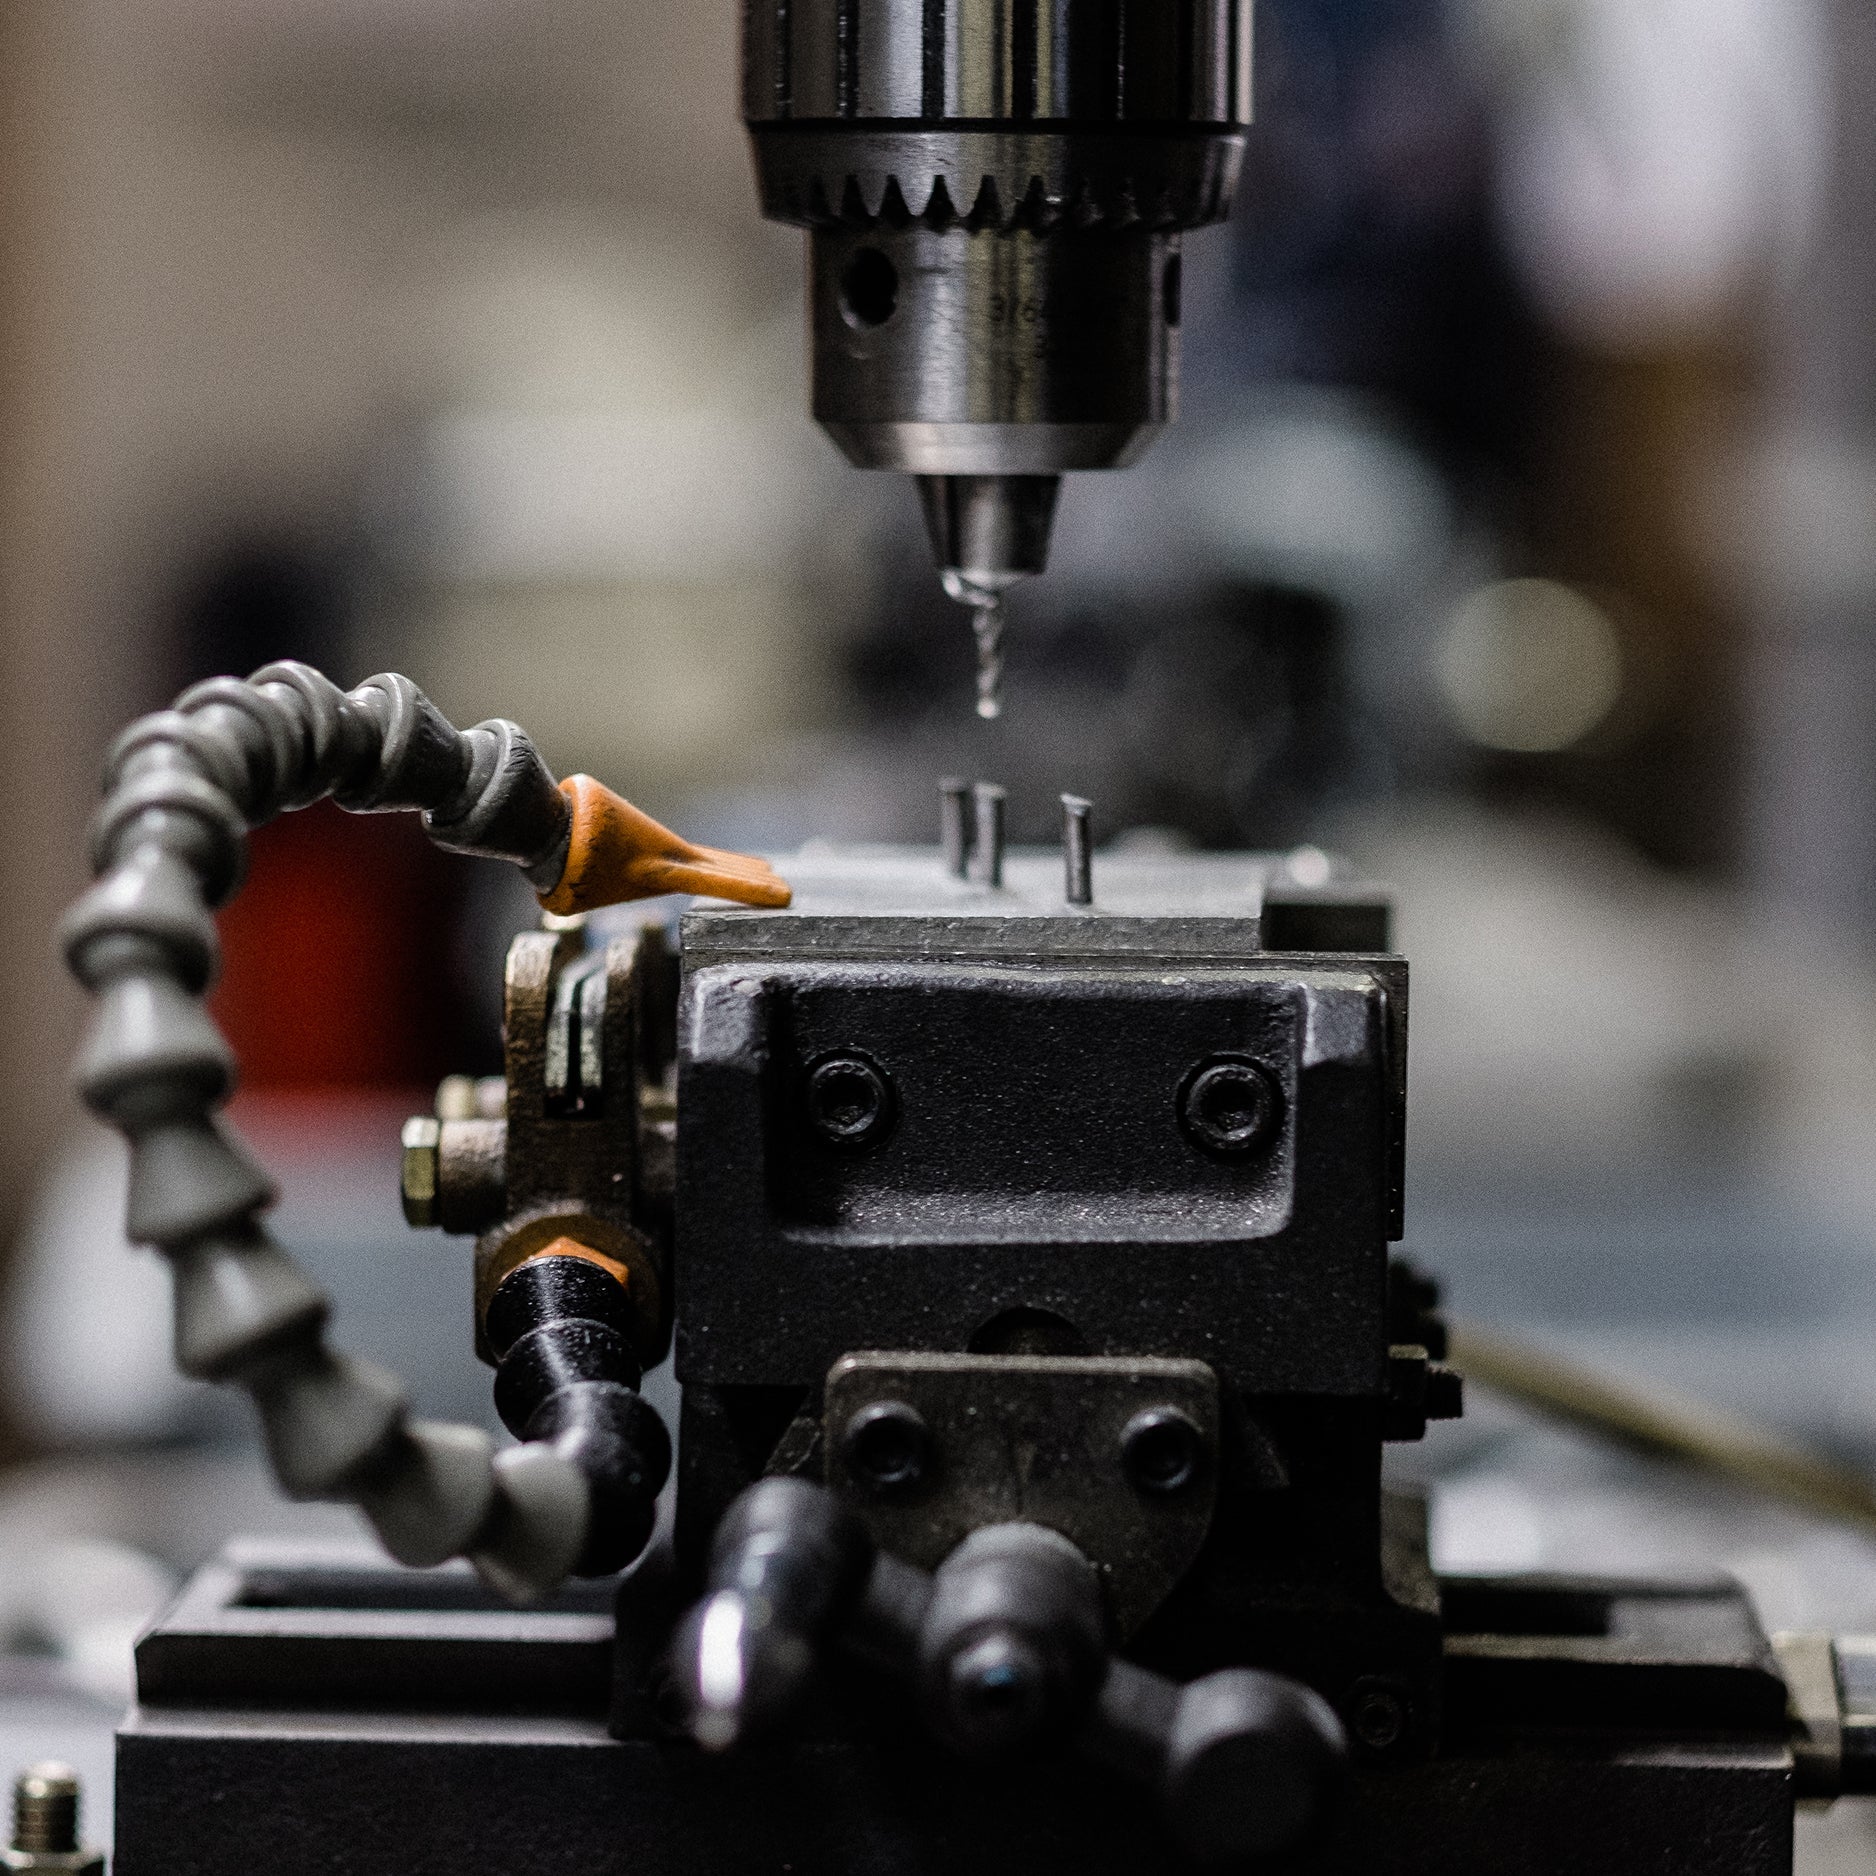
The milling/drilling department houses proprietary machines designed by Milton Kyser himself, created specficially for these precise functions.

03
Milling the Handles
With one press of a pedal, a quick burst of air spits the handle into a pan while the operator is already loading the next.
04
Rounding the Edges
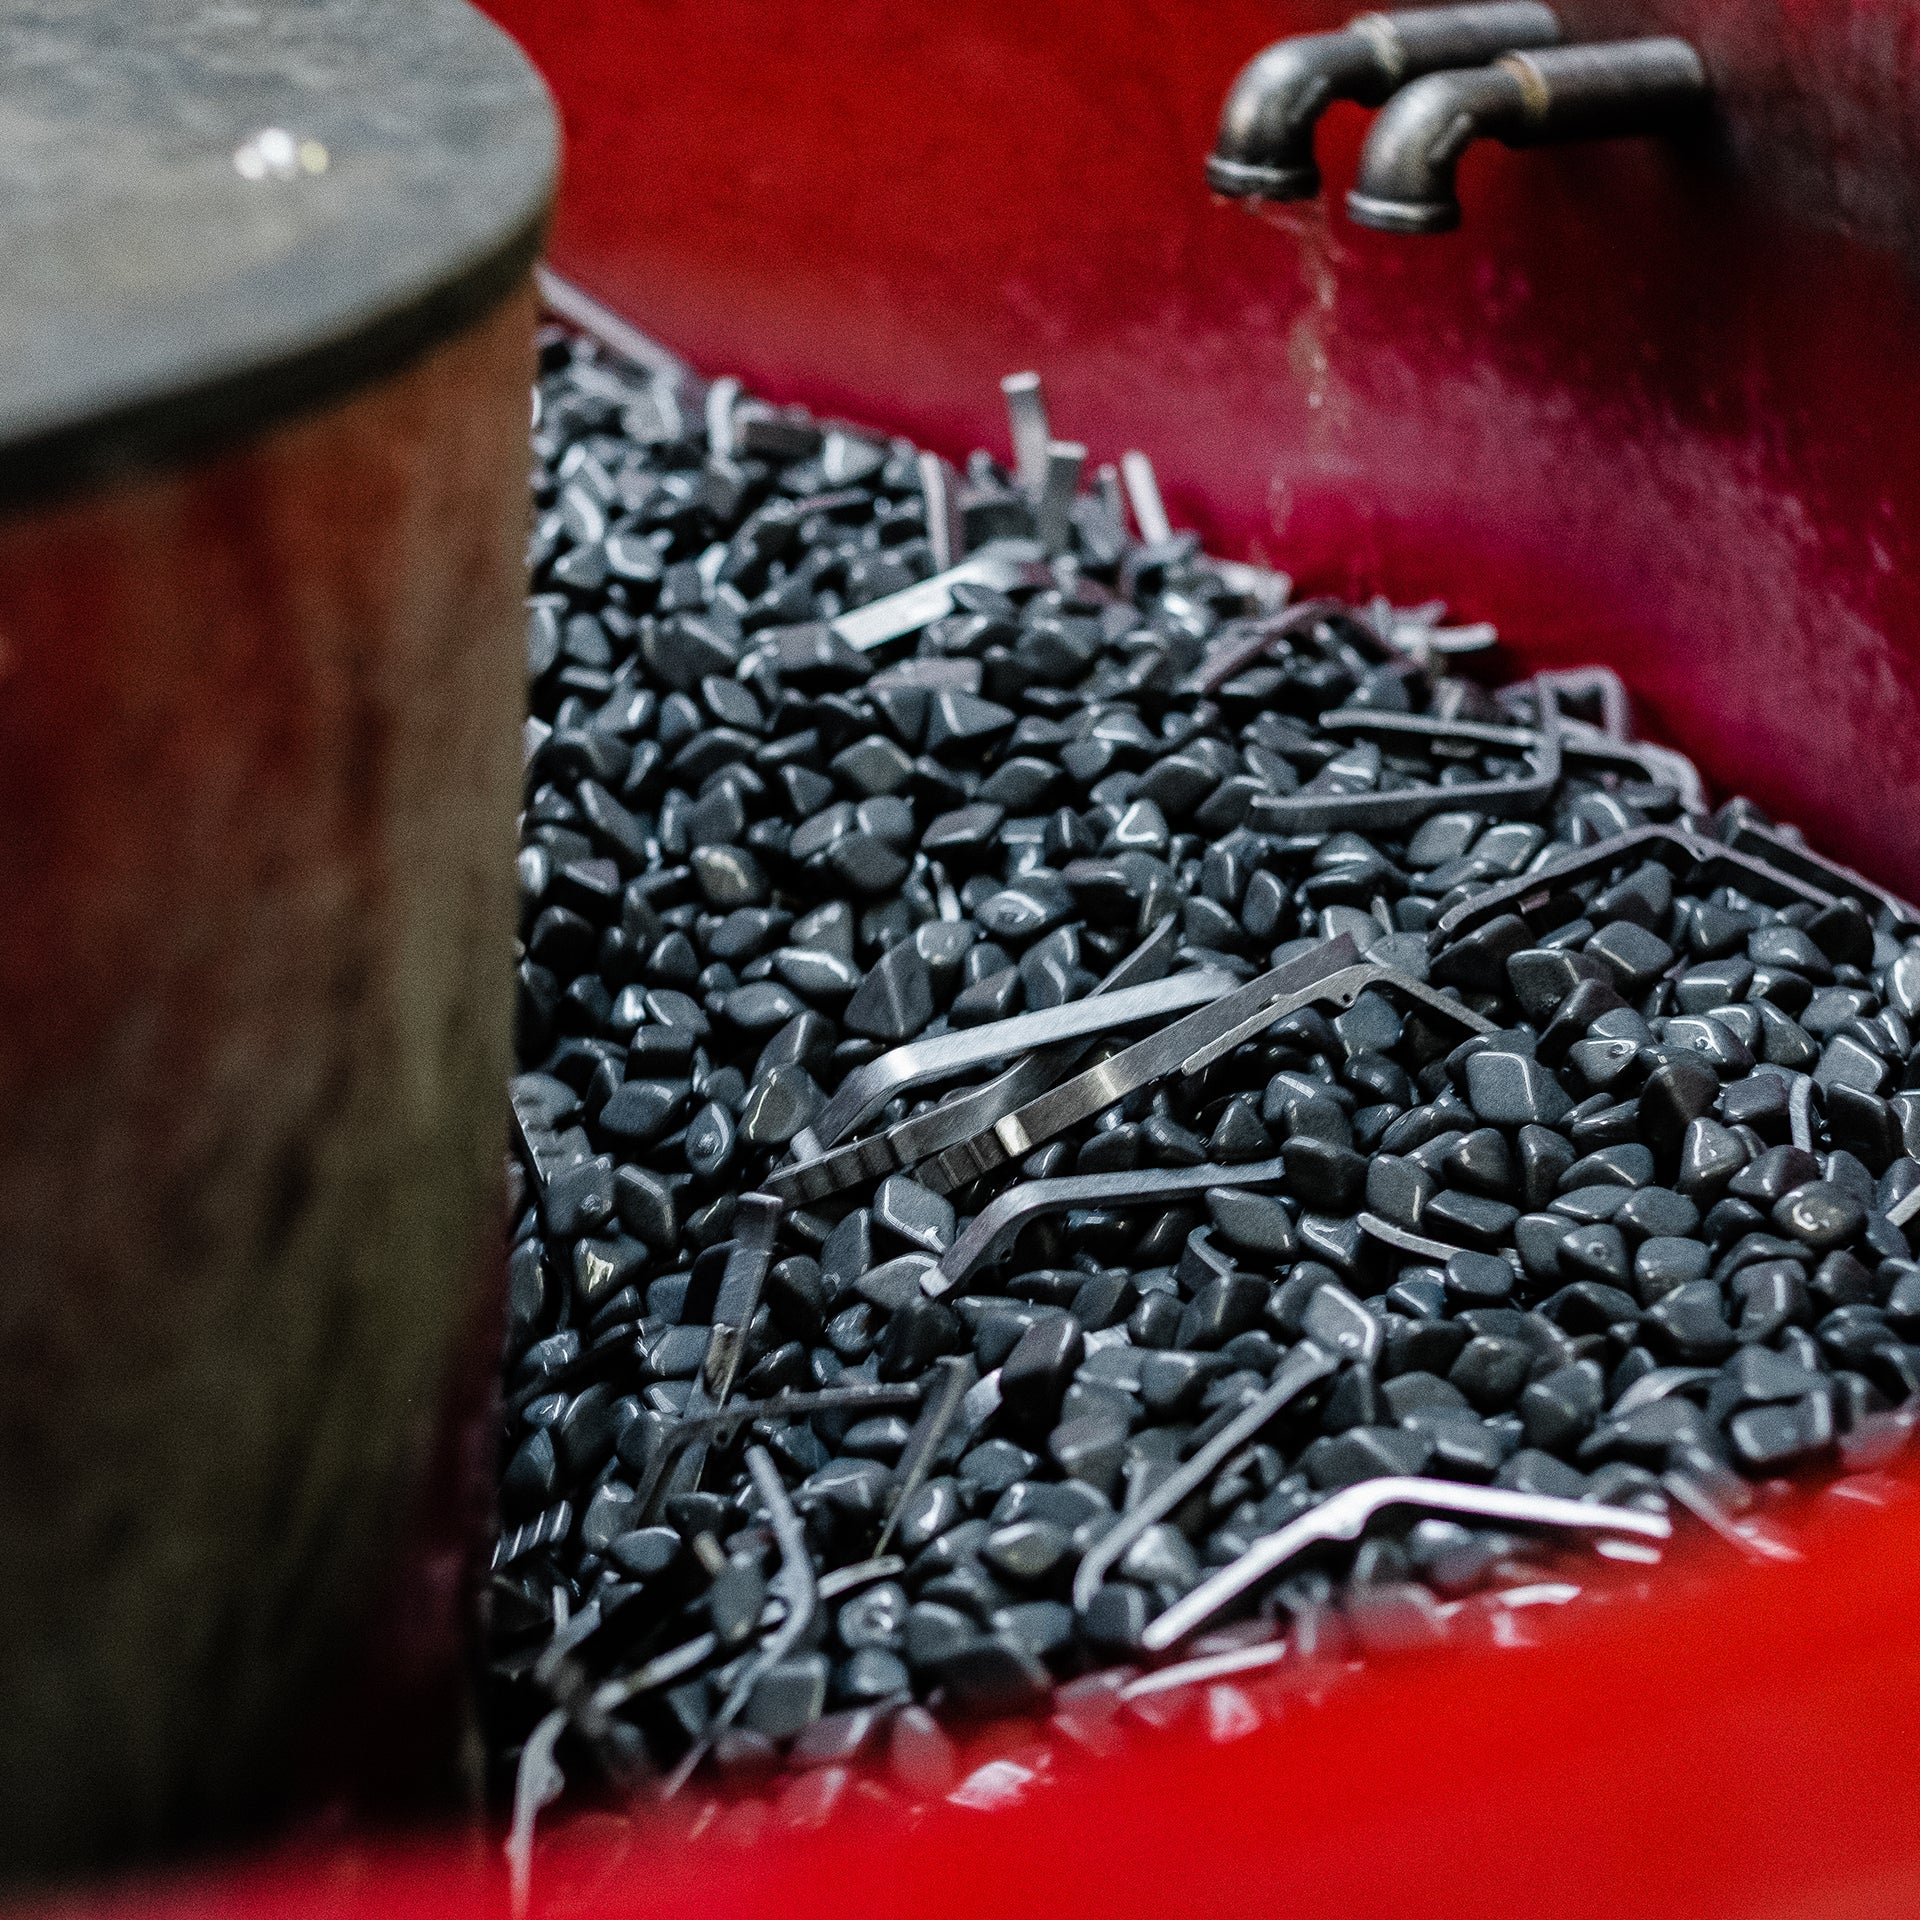
Mixed with a special finishing compound, the bodies and handles tumble in a vibratory machine until all imperfections disappear.
05
Pre-Paint
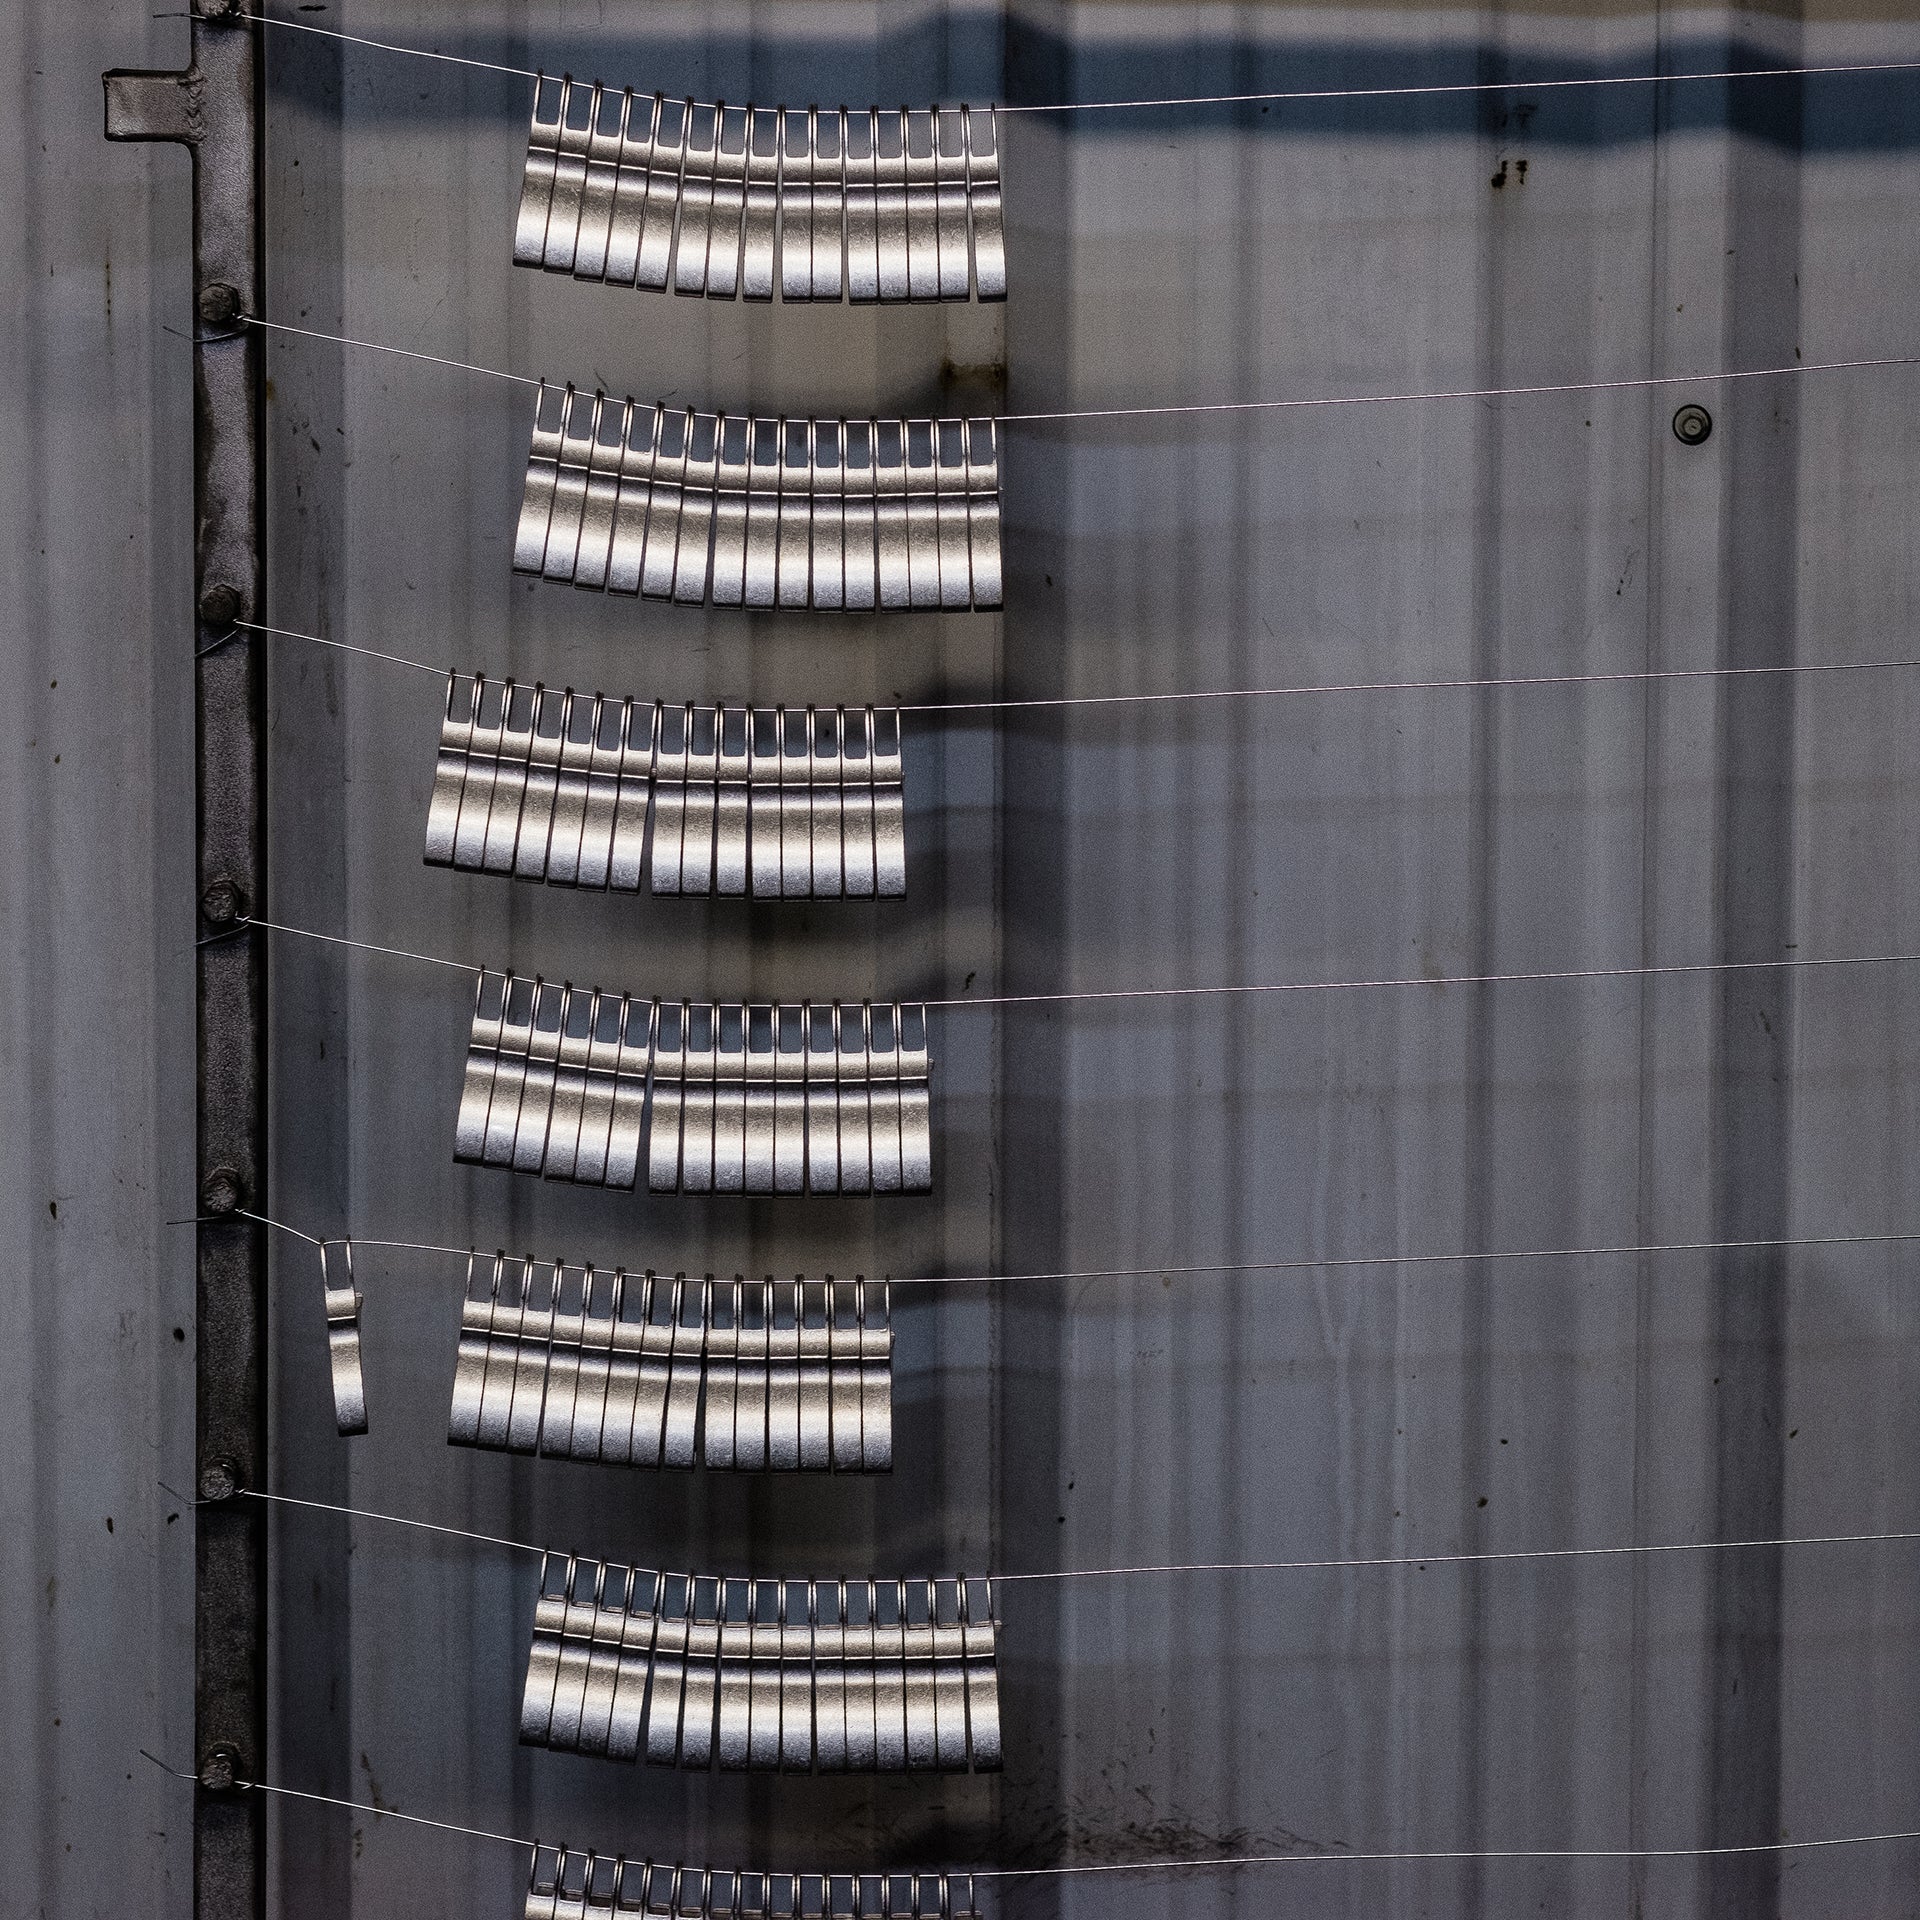
Our custom-made racks hold up to 100 bodies and 200 handles, and every single part is individually inspected as a quality control measure.
06
The Powdercoat Process
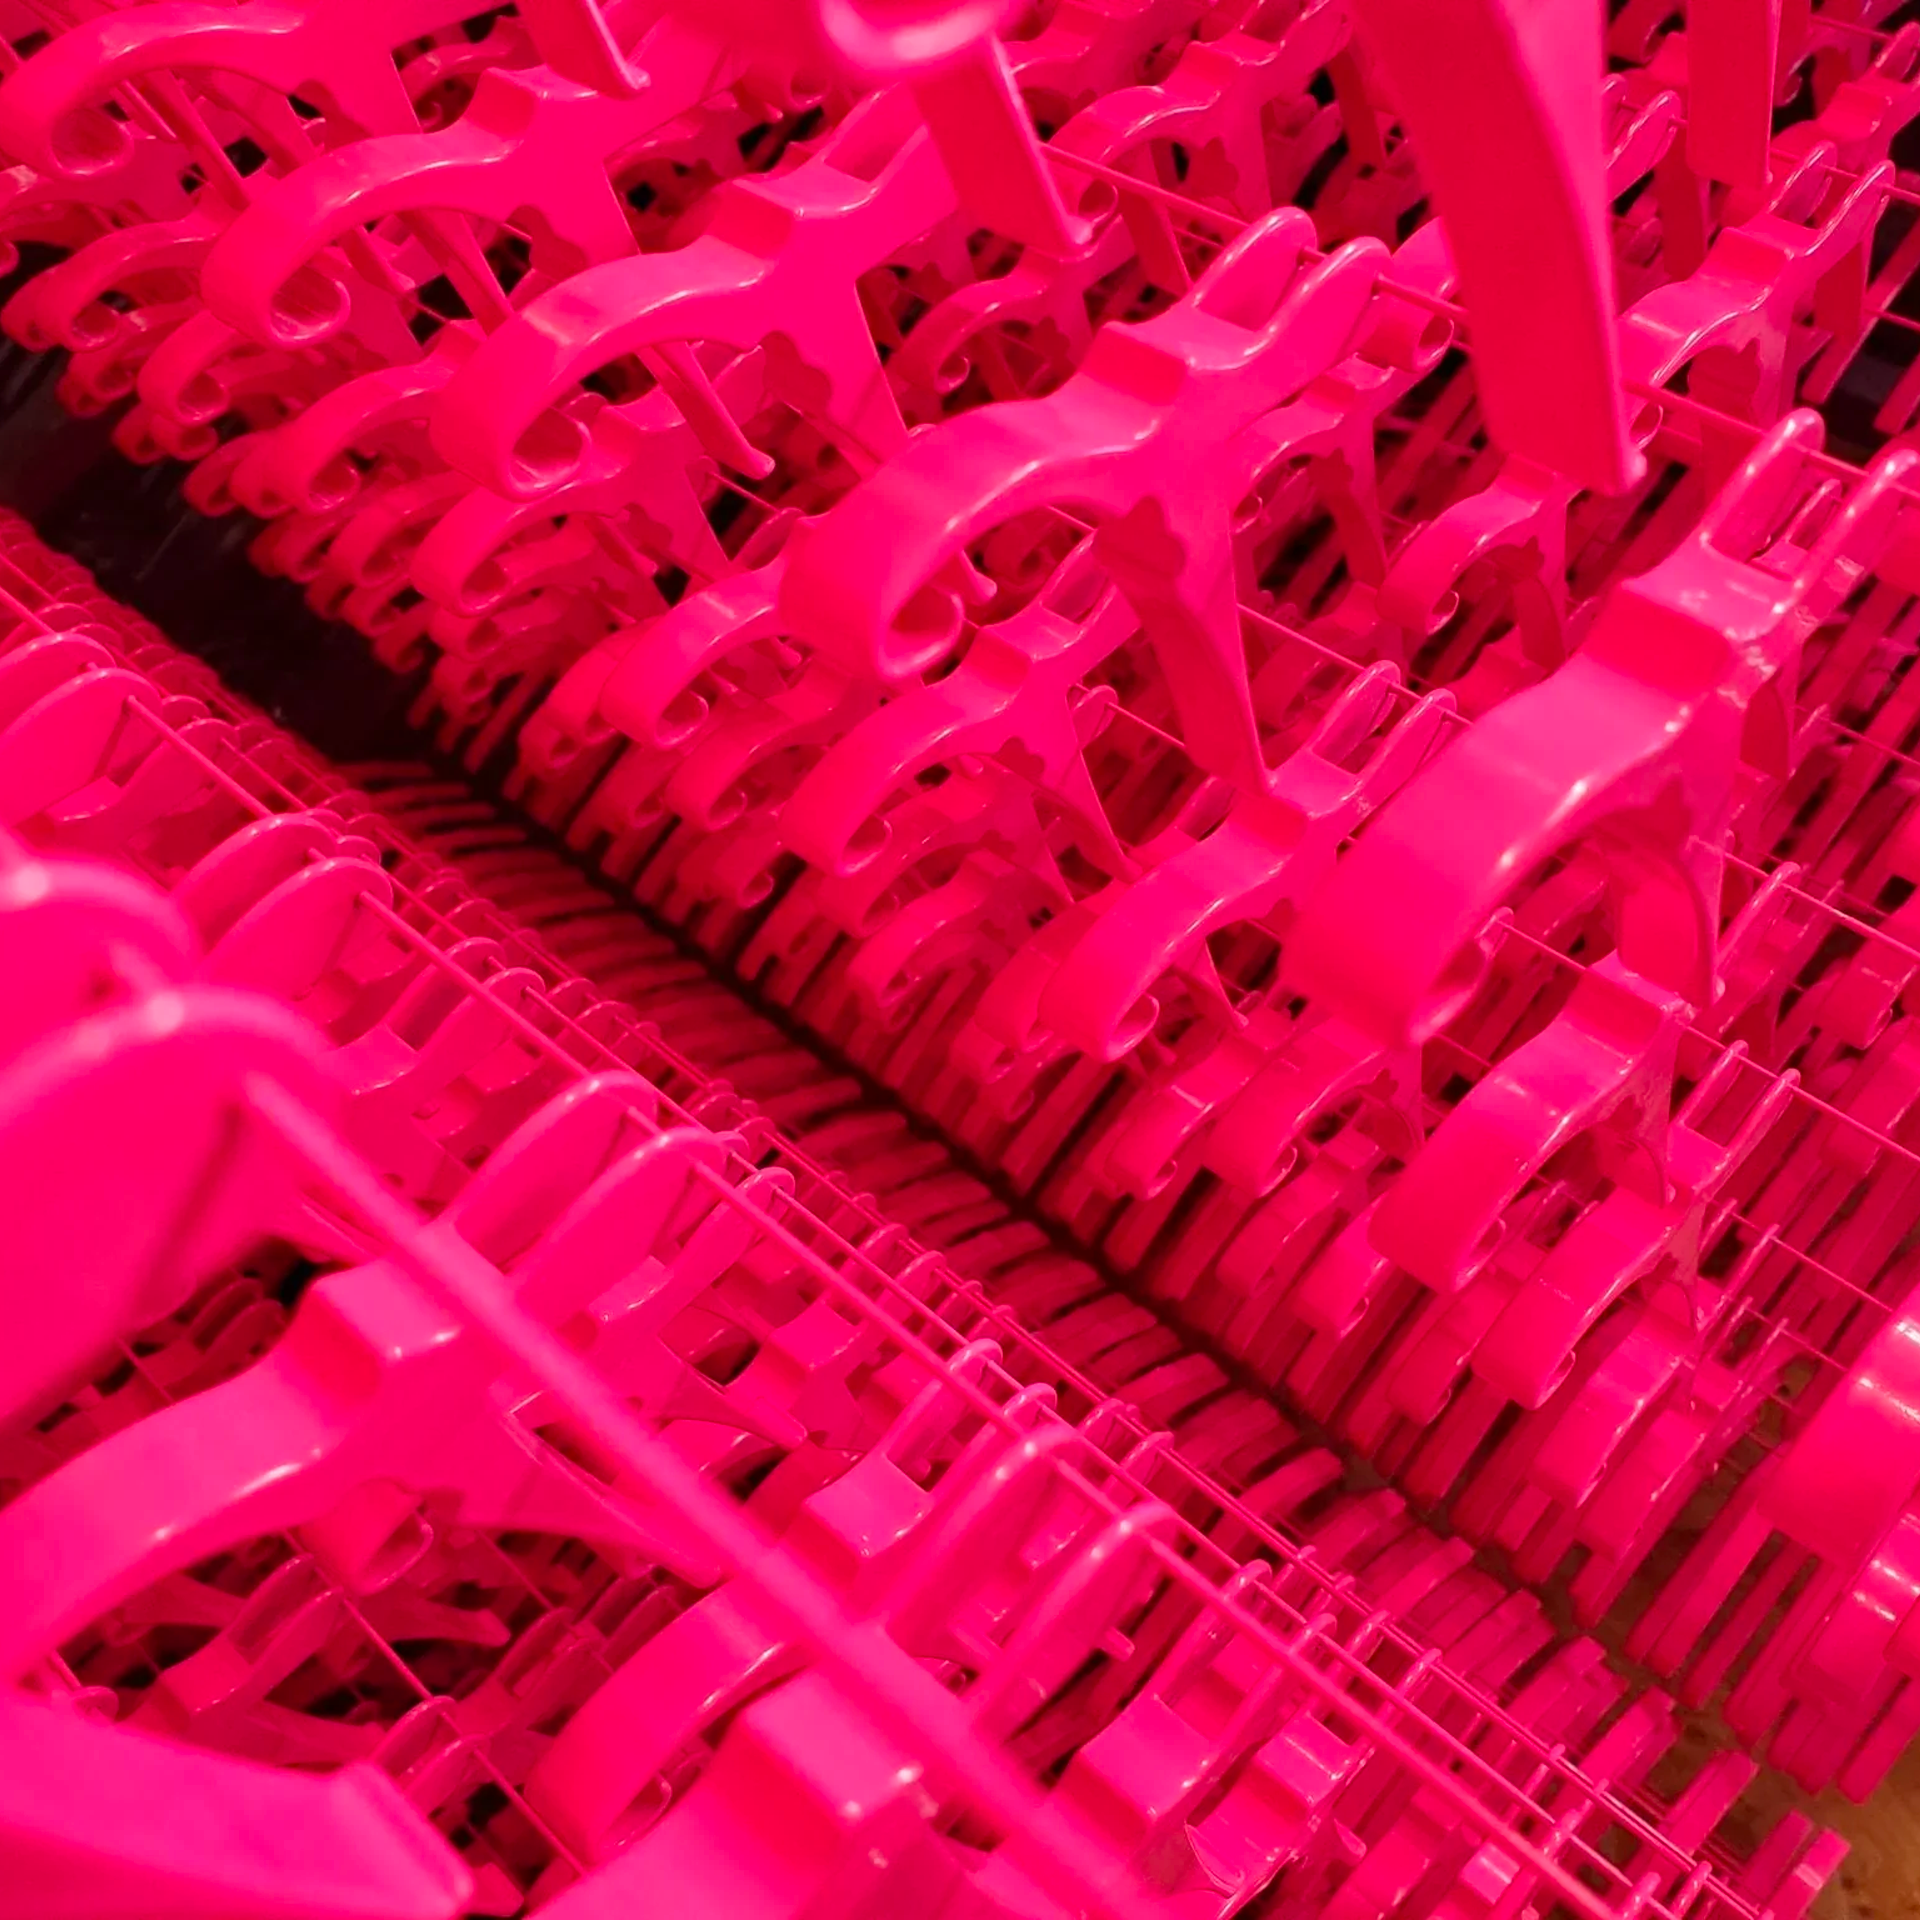
Once the parts are hung and spread evenly, powder coat paint is hand-applied to the parts and heat cured in a large walk-in batch oven.
07
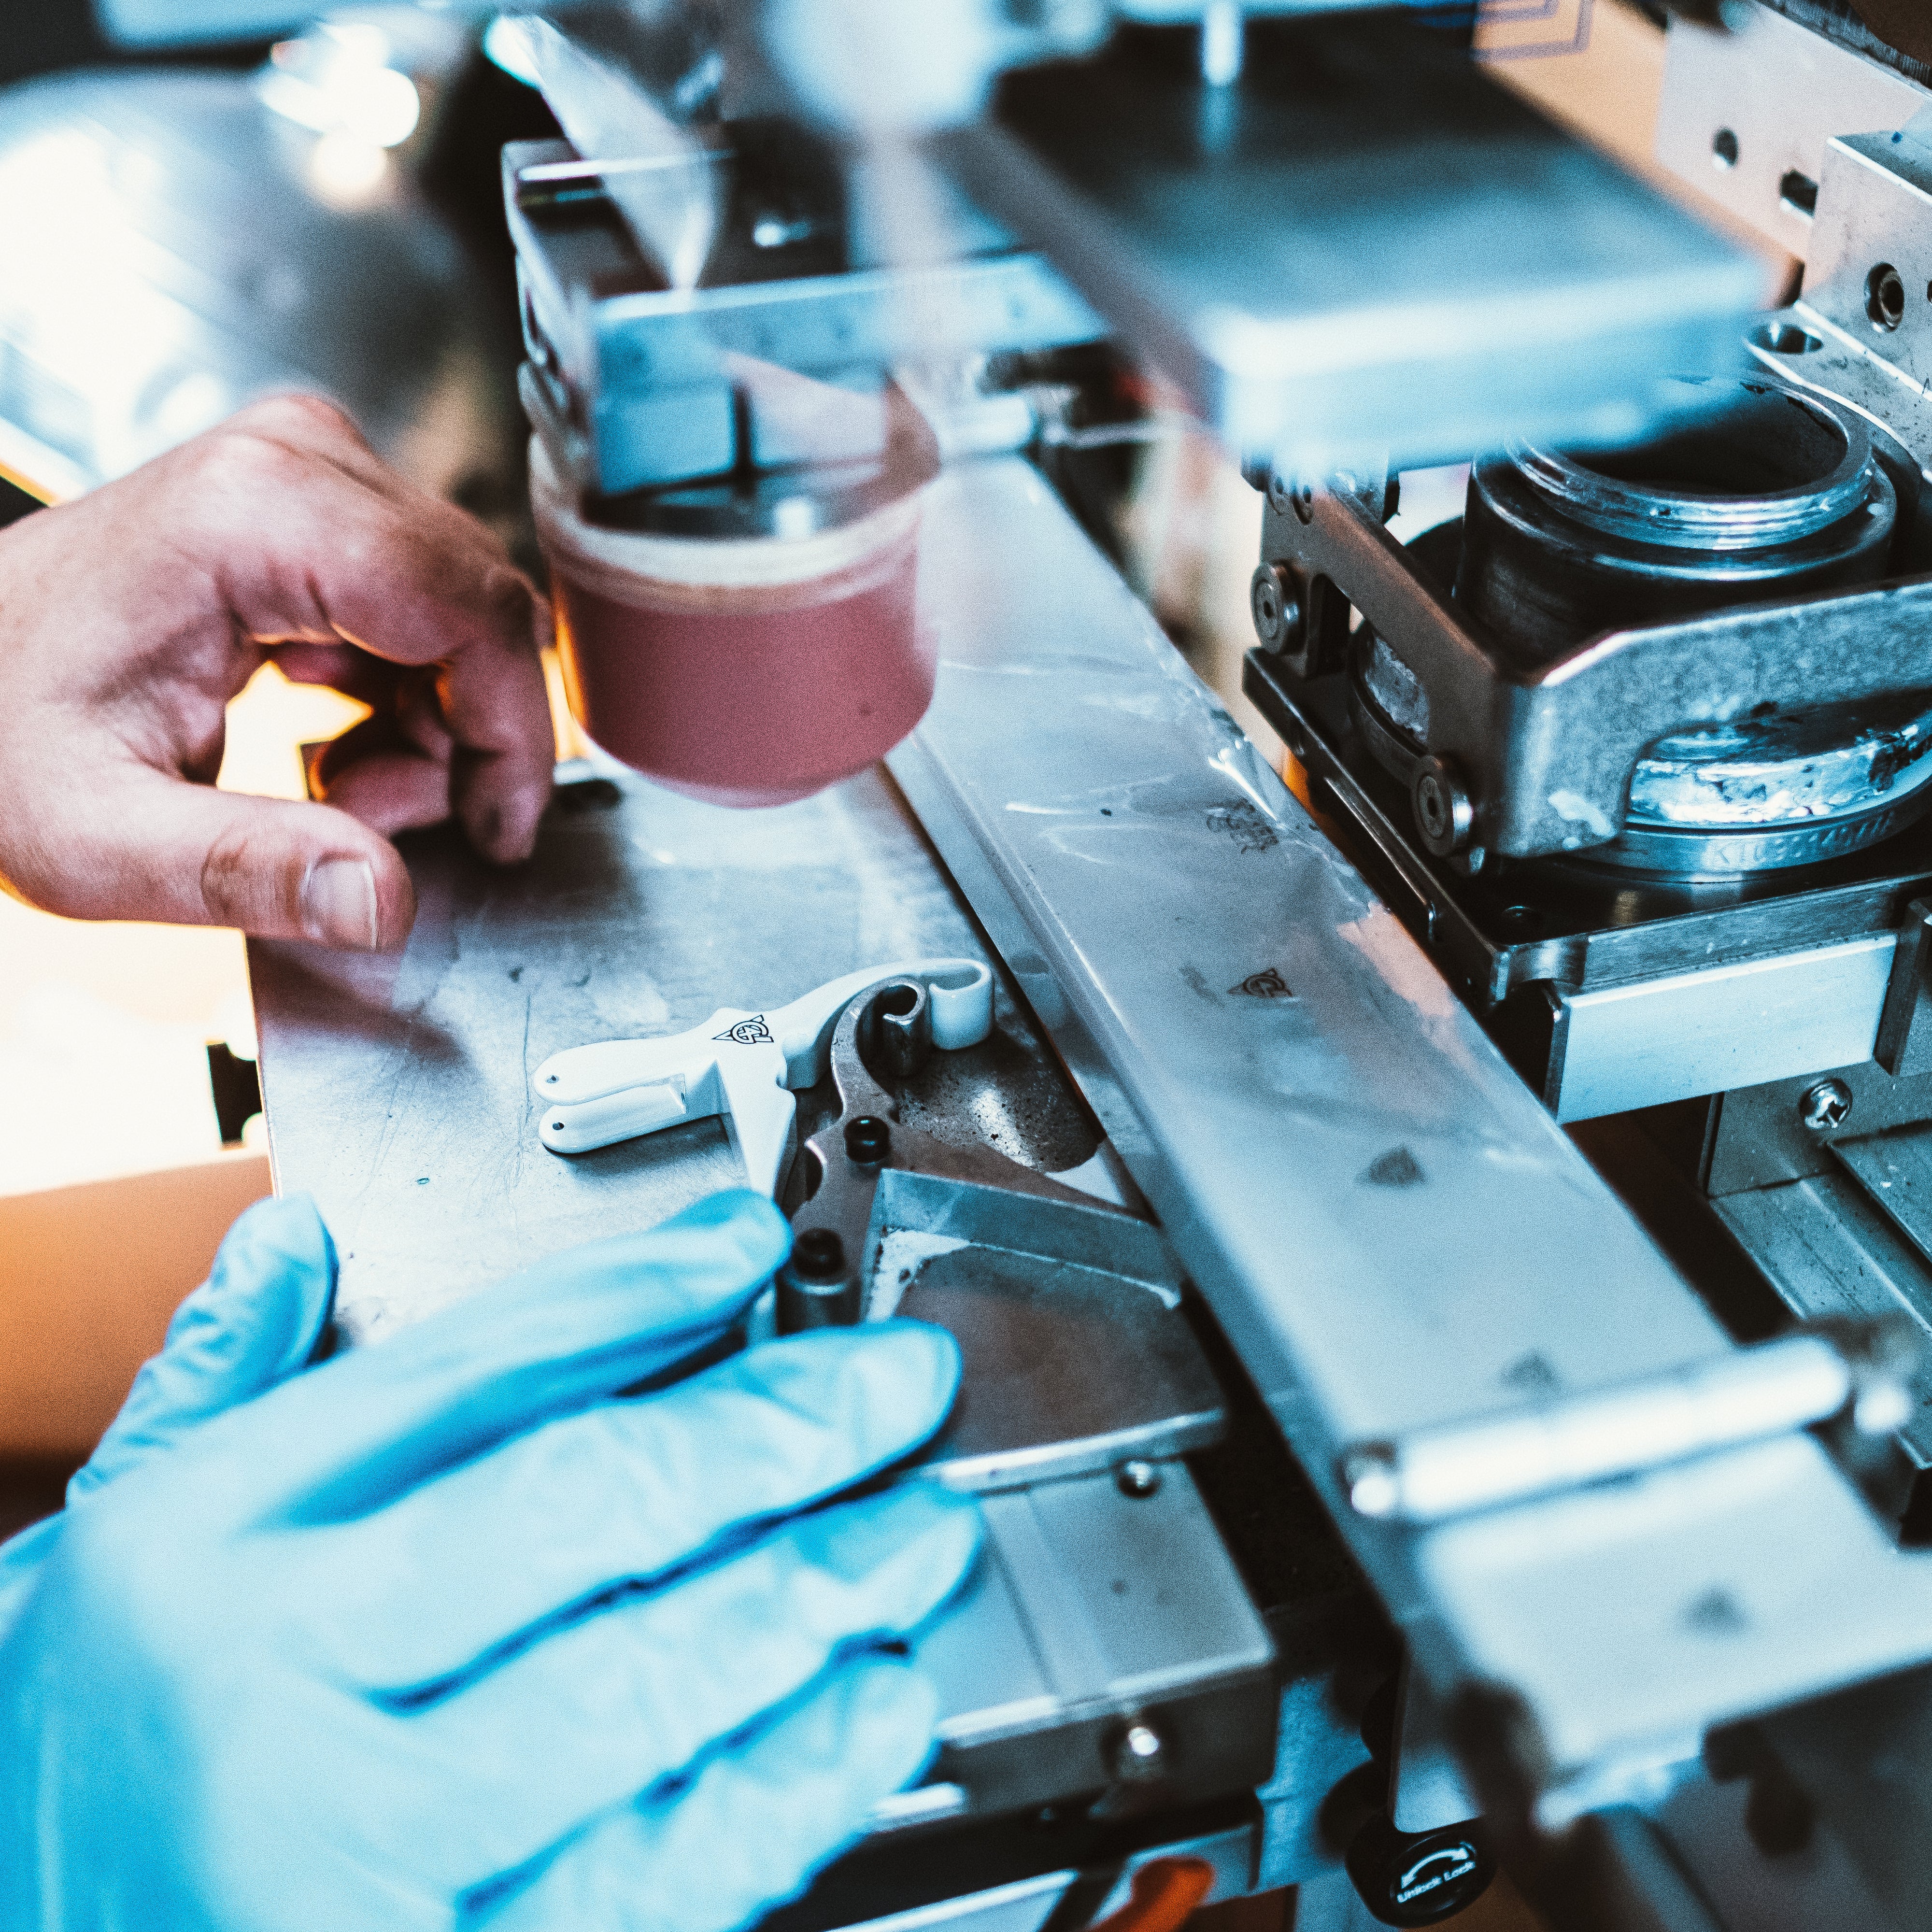
Branding the Parts
The parts are taken down from the racks where they move into the stamping department to be given the great Kyser name for all to see.
08
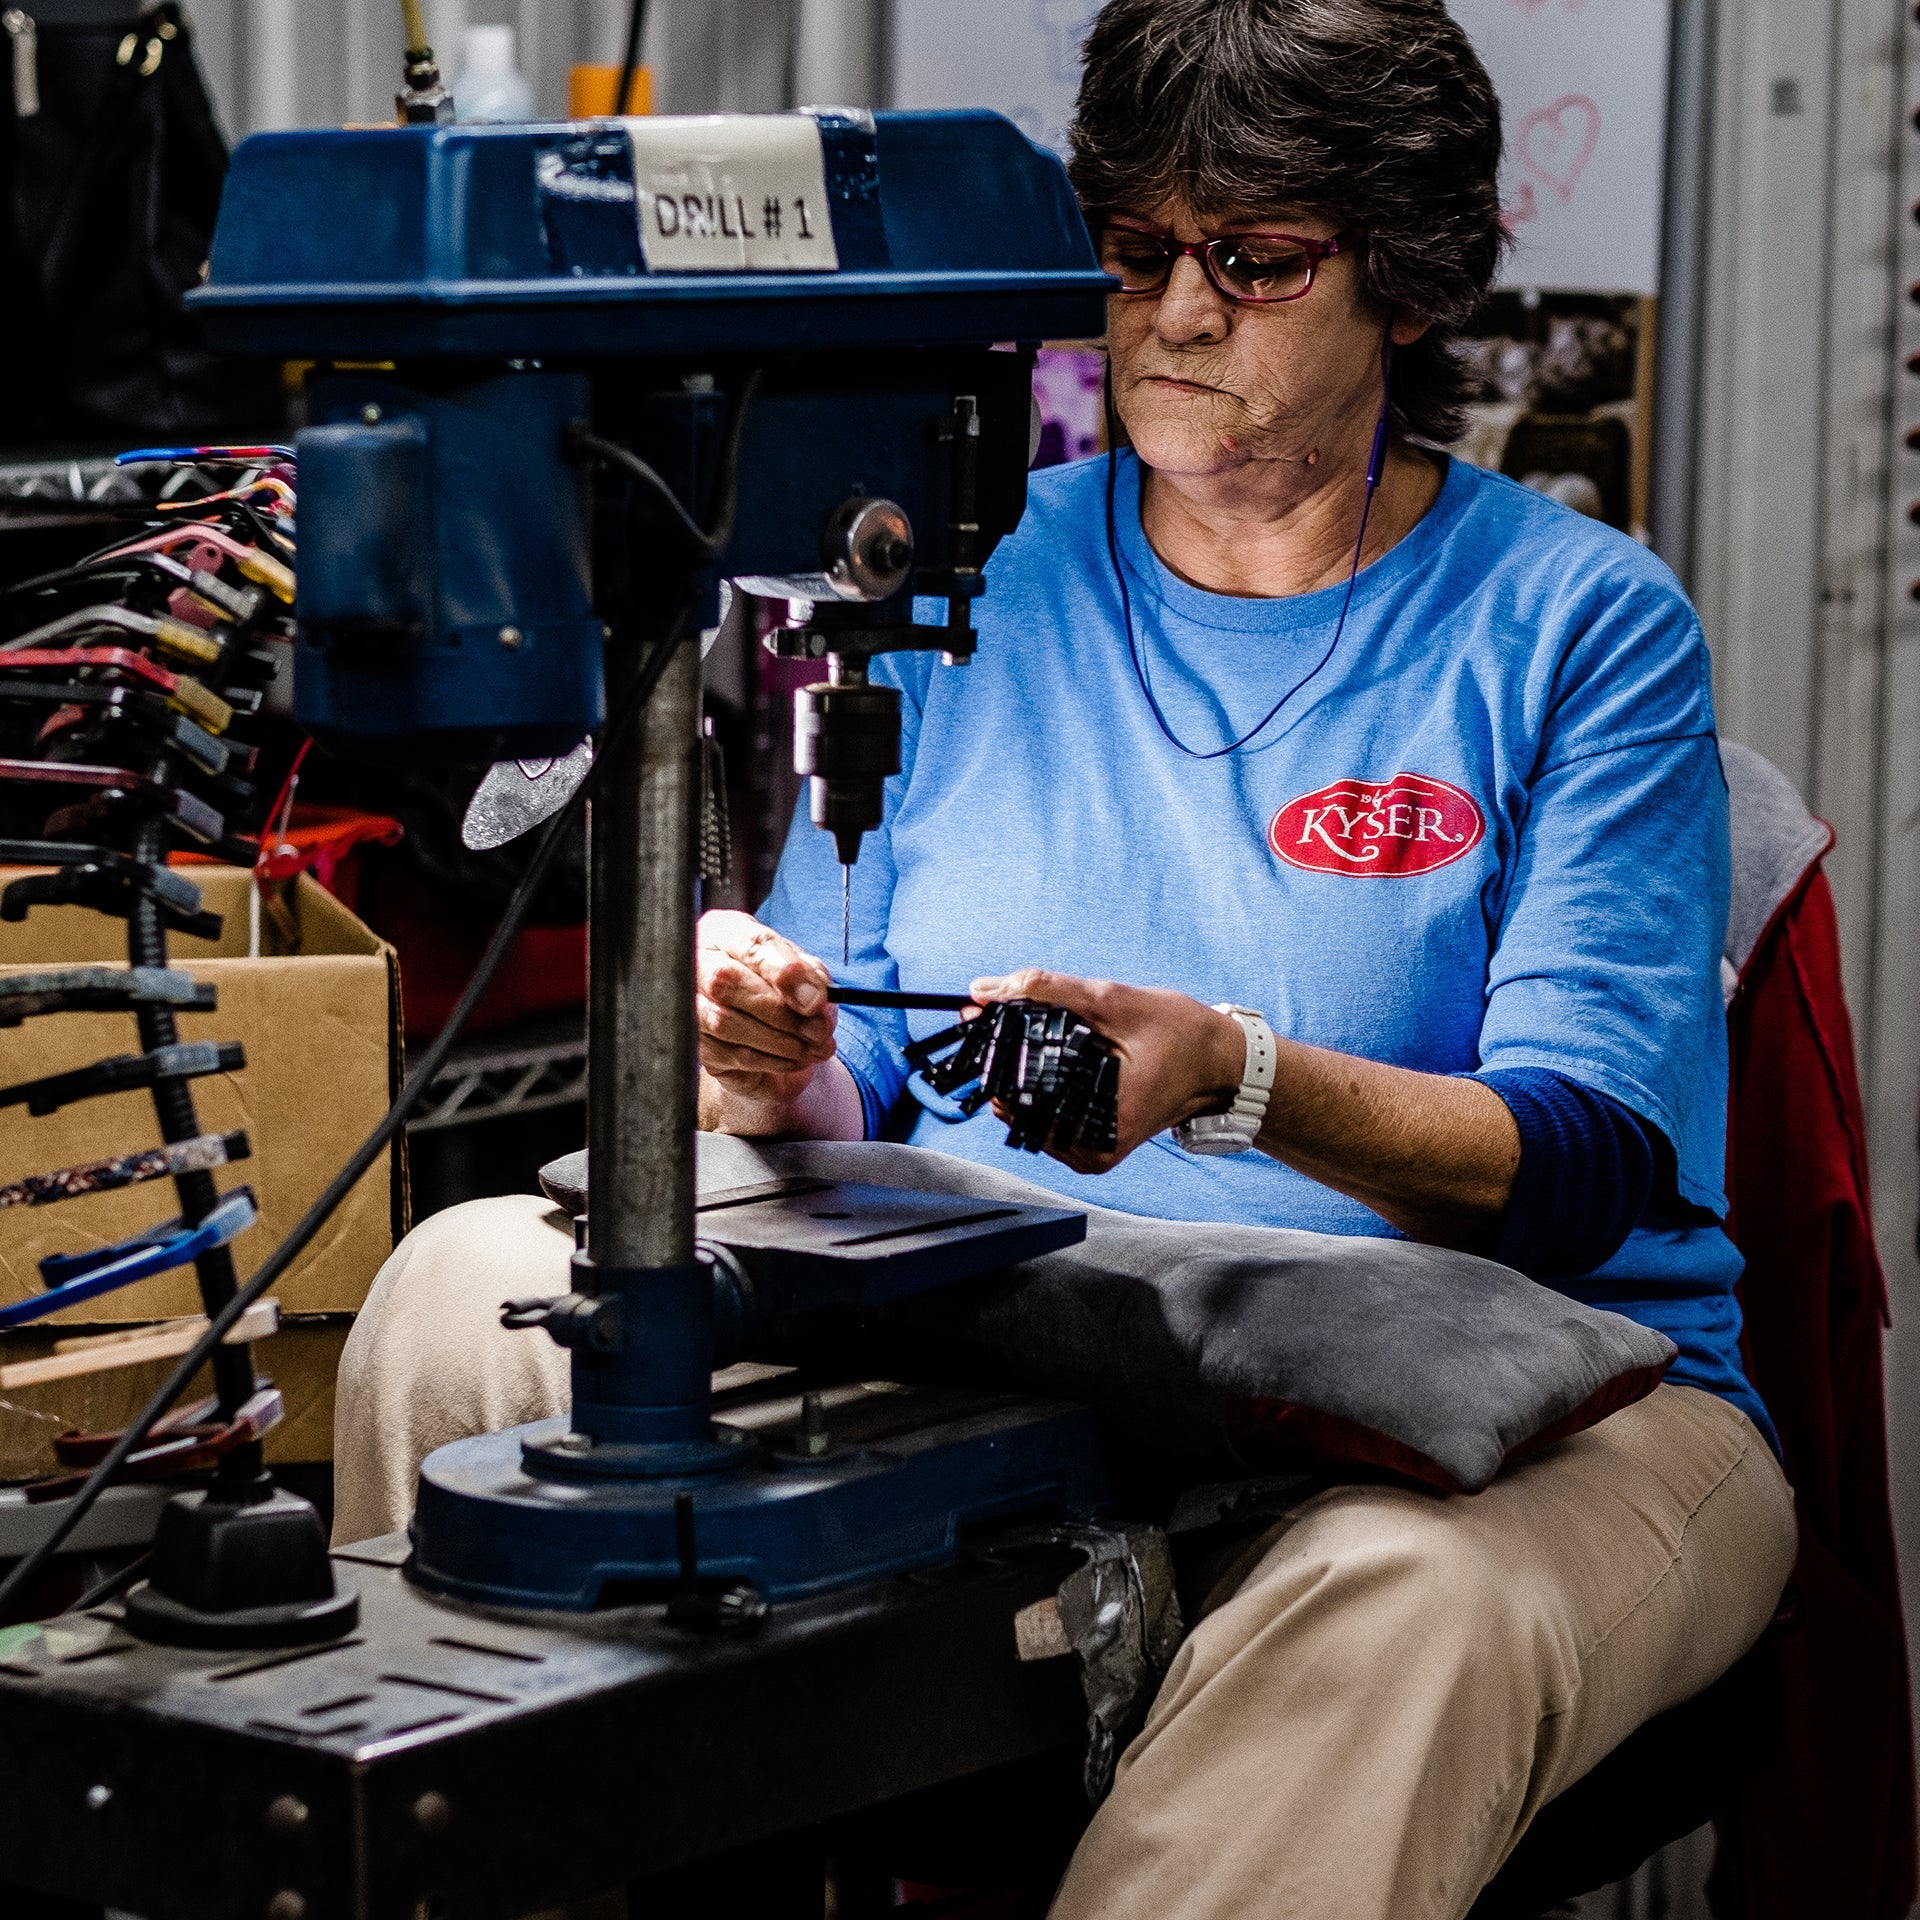
Redrilling
A skilled craftsperson runs a spinning drill bit through each body and handle, creating ease of assembly when inserting a rivet.
09
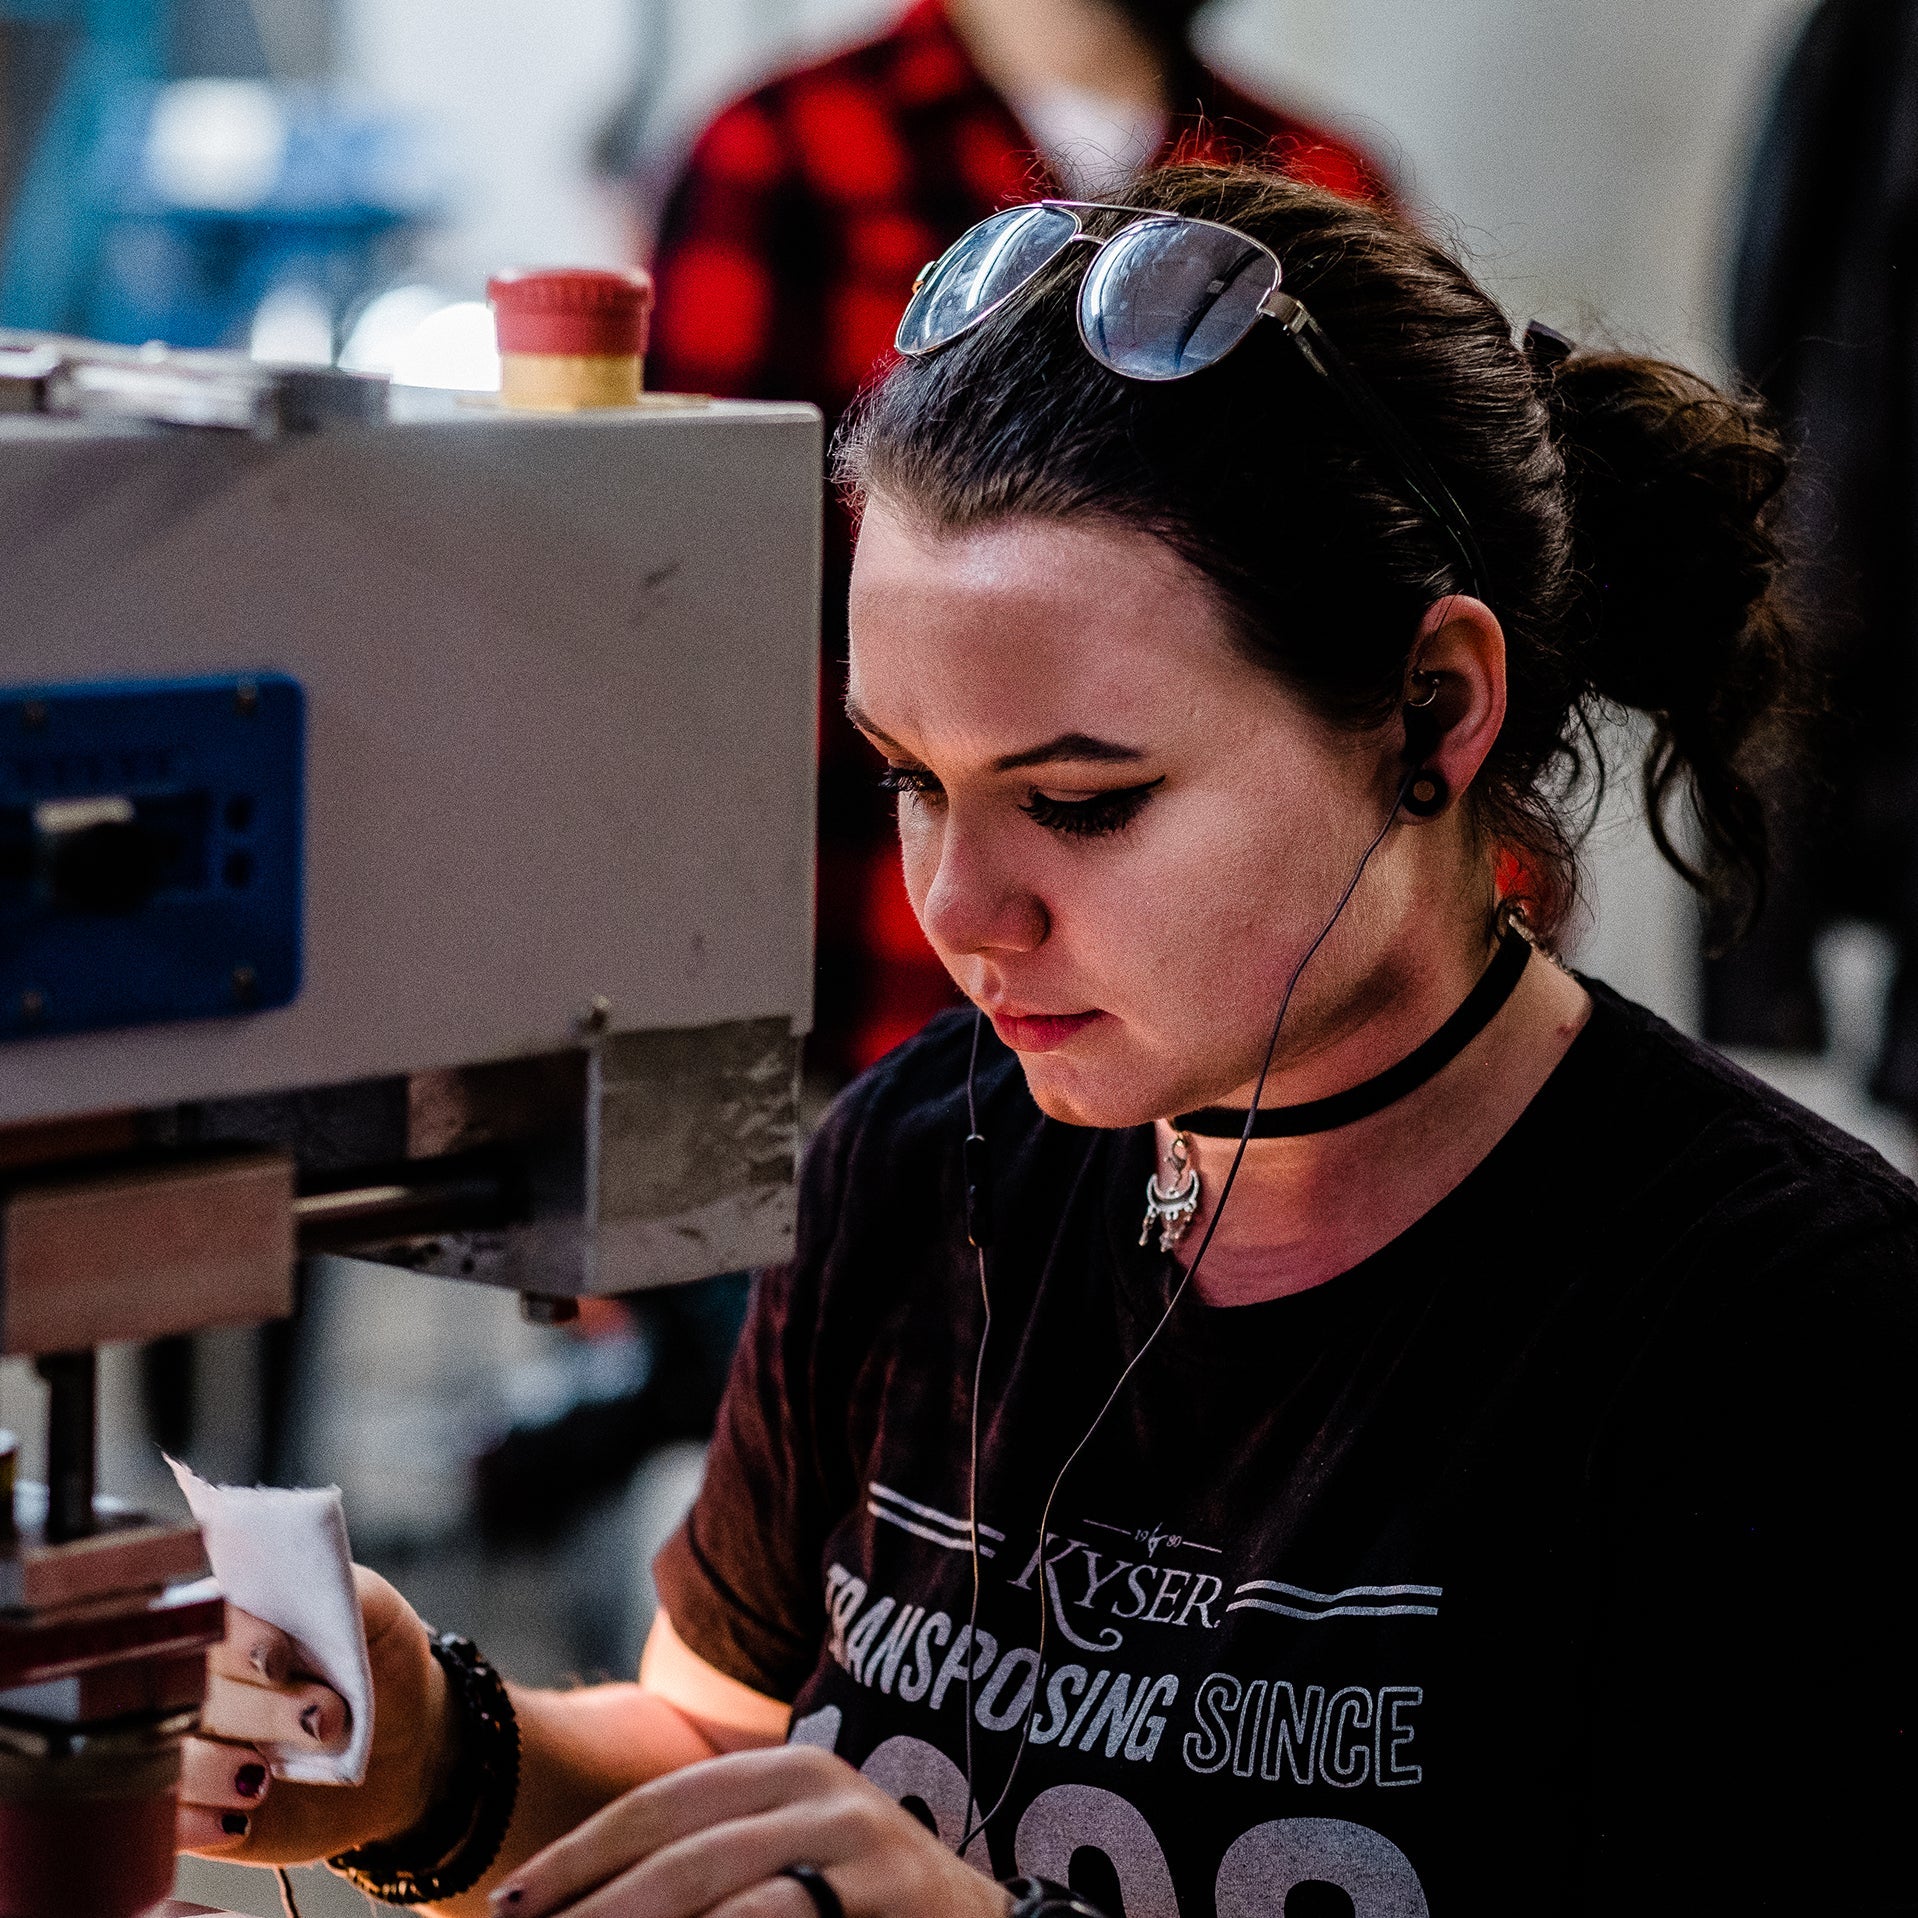
Installing Rubber Boot
A team member applies the classic silicone “boot,” the piece that protects an instrument’s finish when touching the neck, to the back of the handle.
10
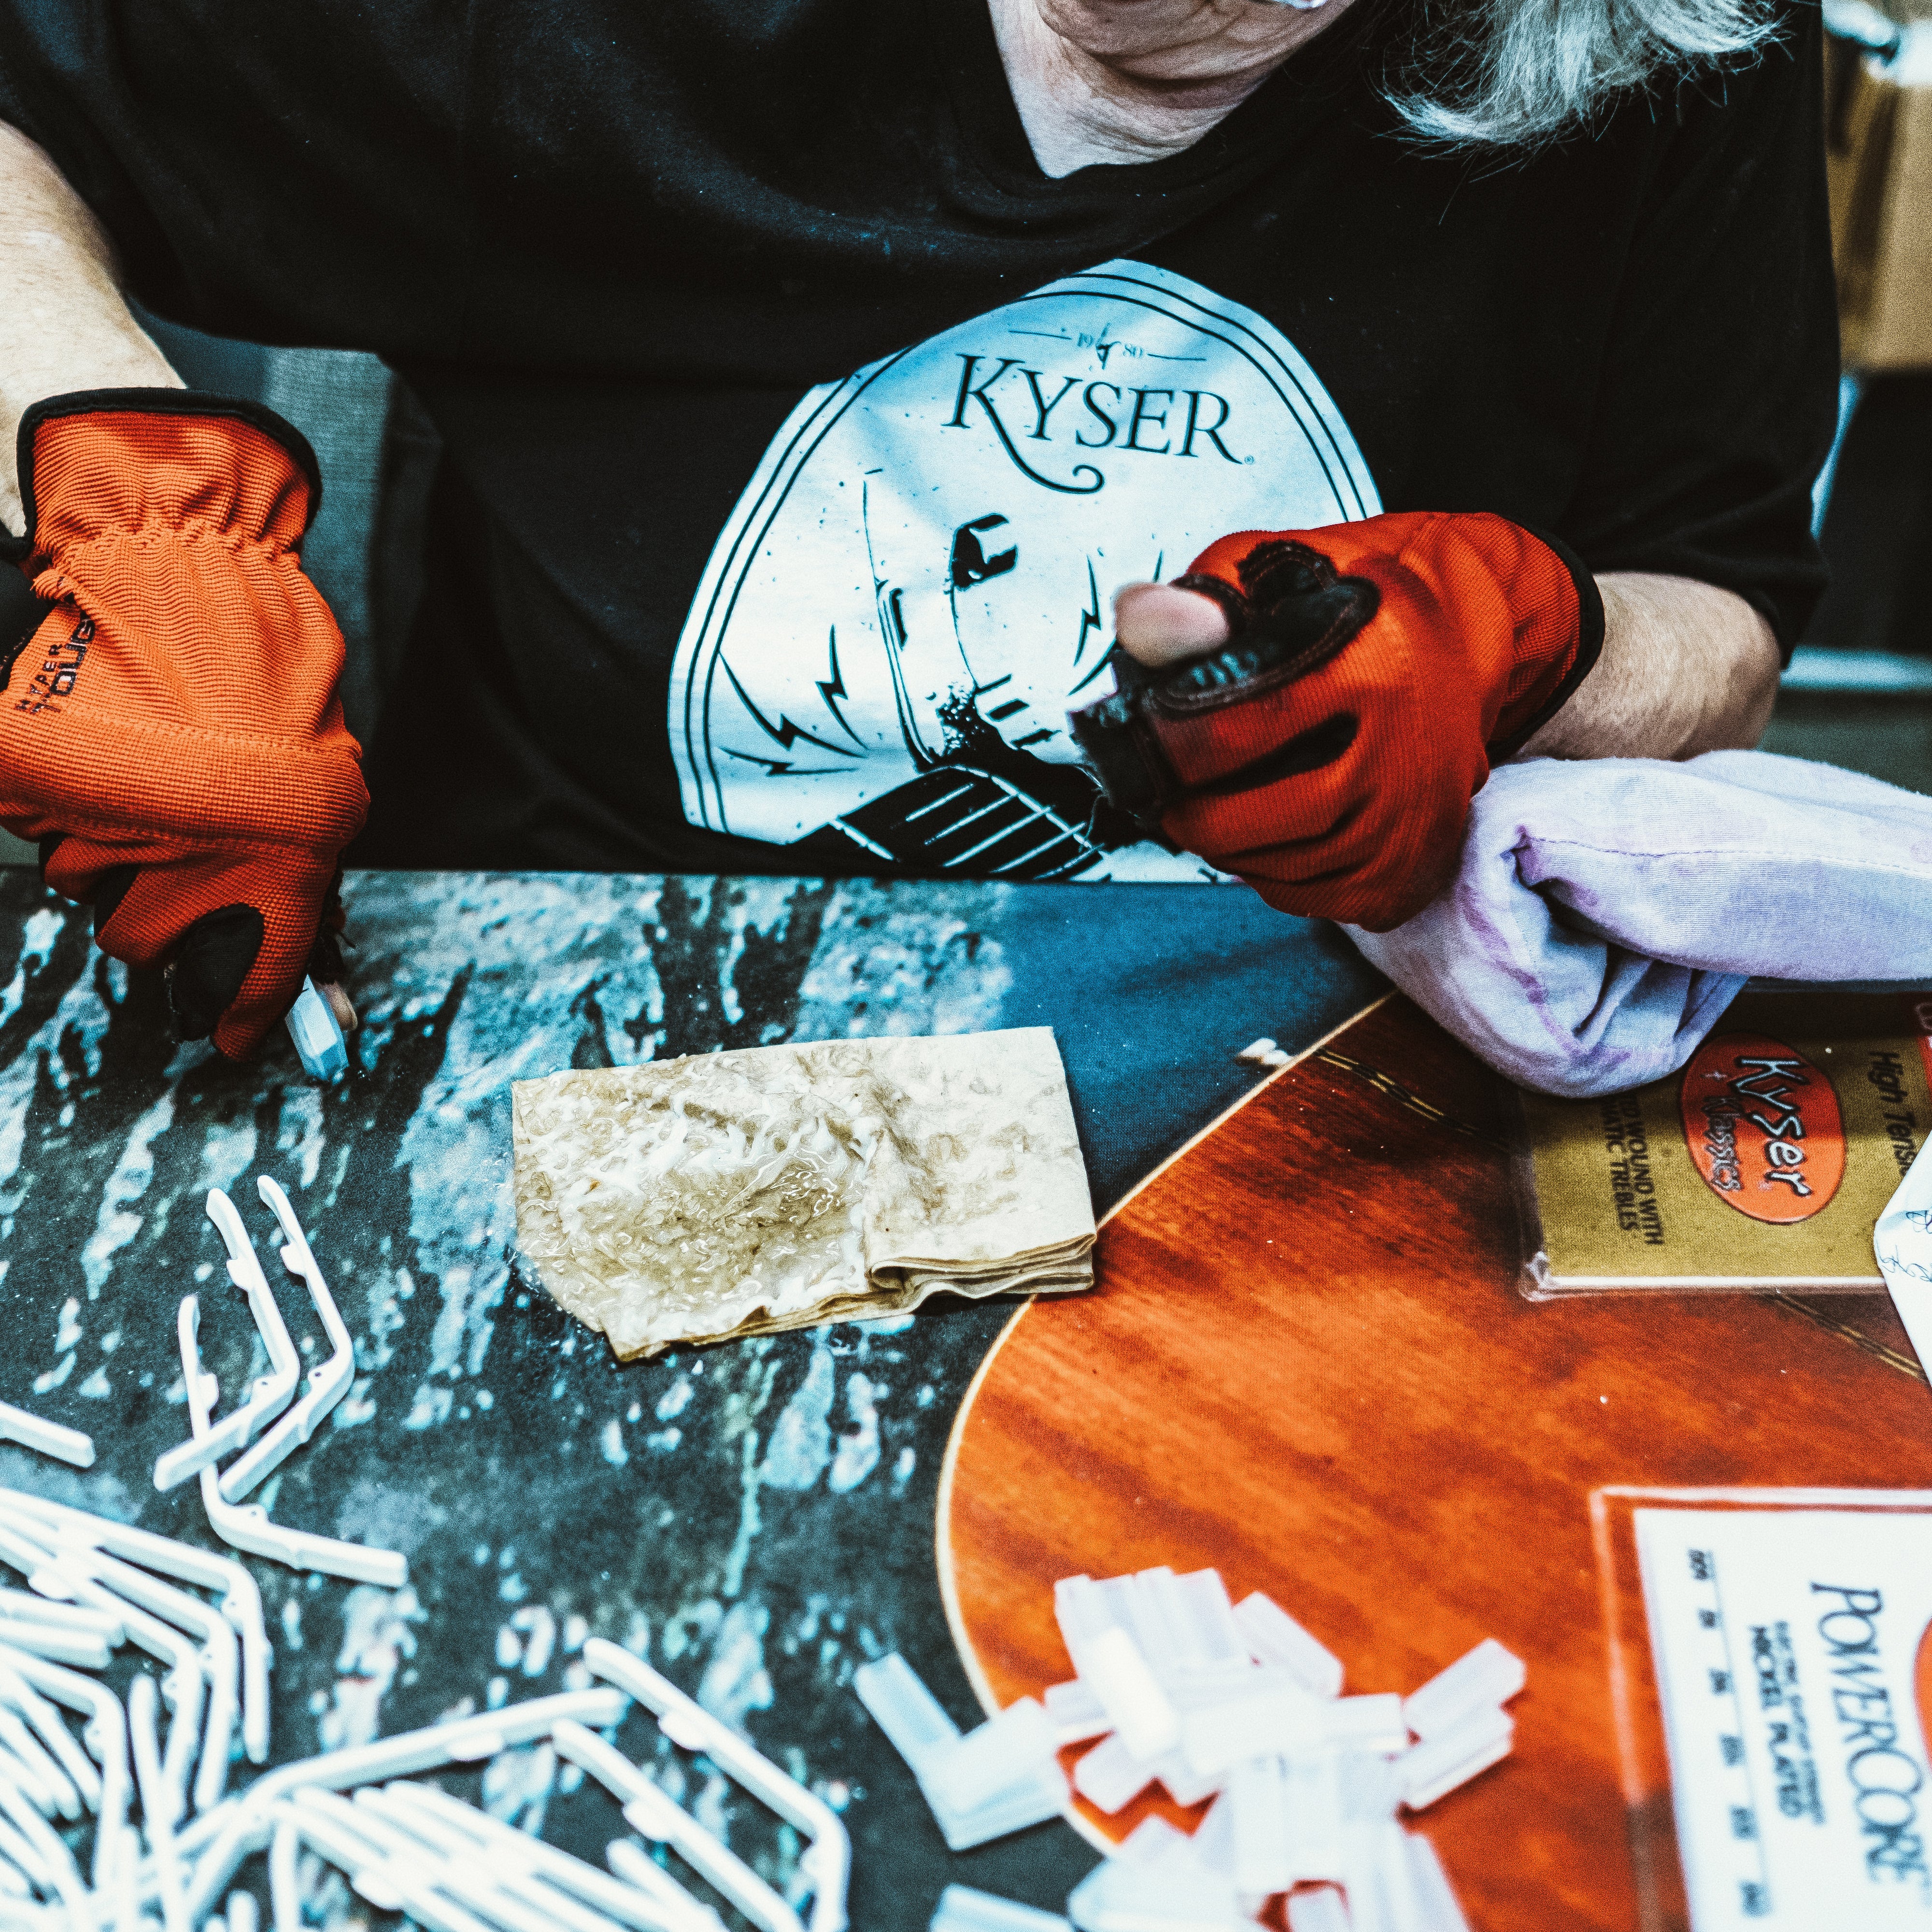
Gluing the Rubber
Gluers are trained to place these on perfectly straight with little to no gaps and no squeeze out of the adhesive.
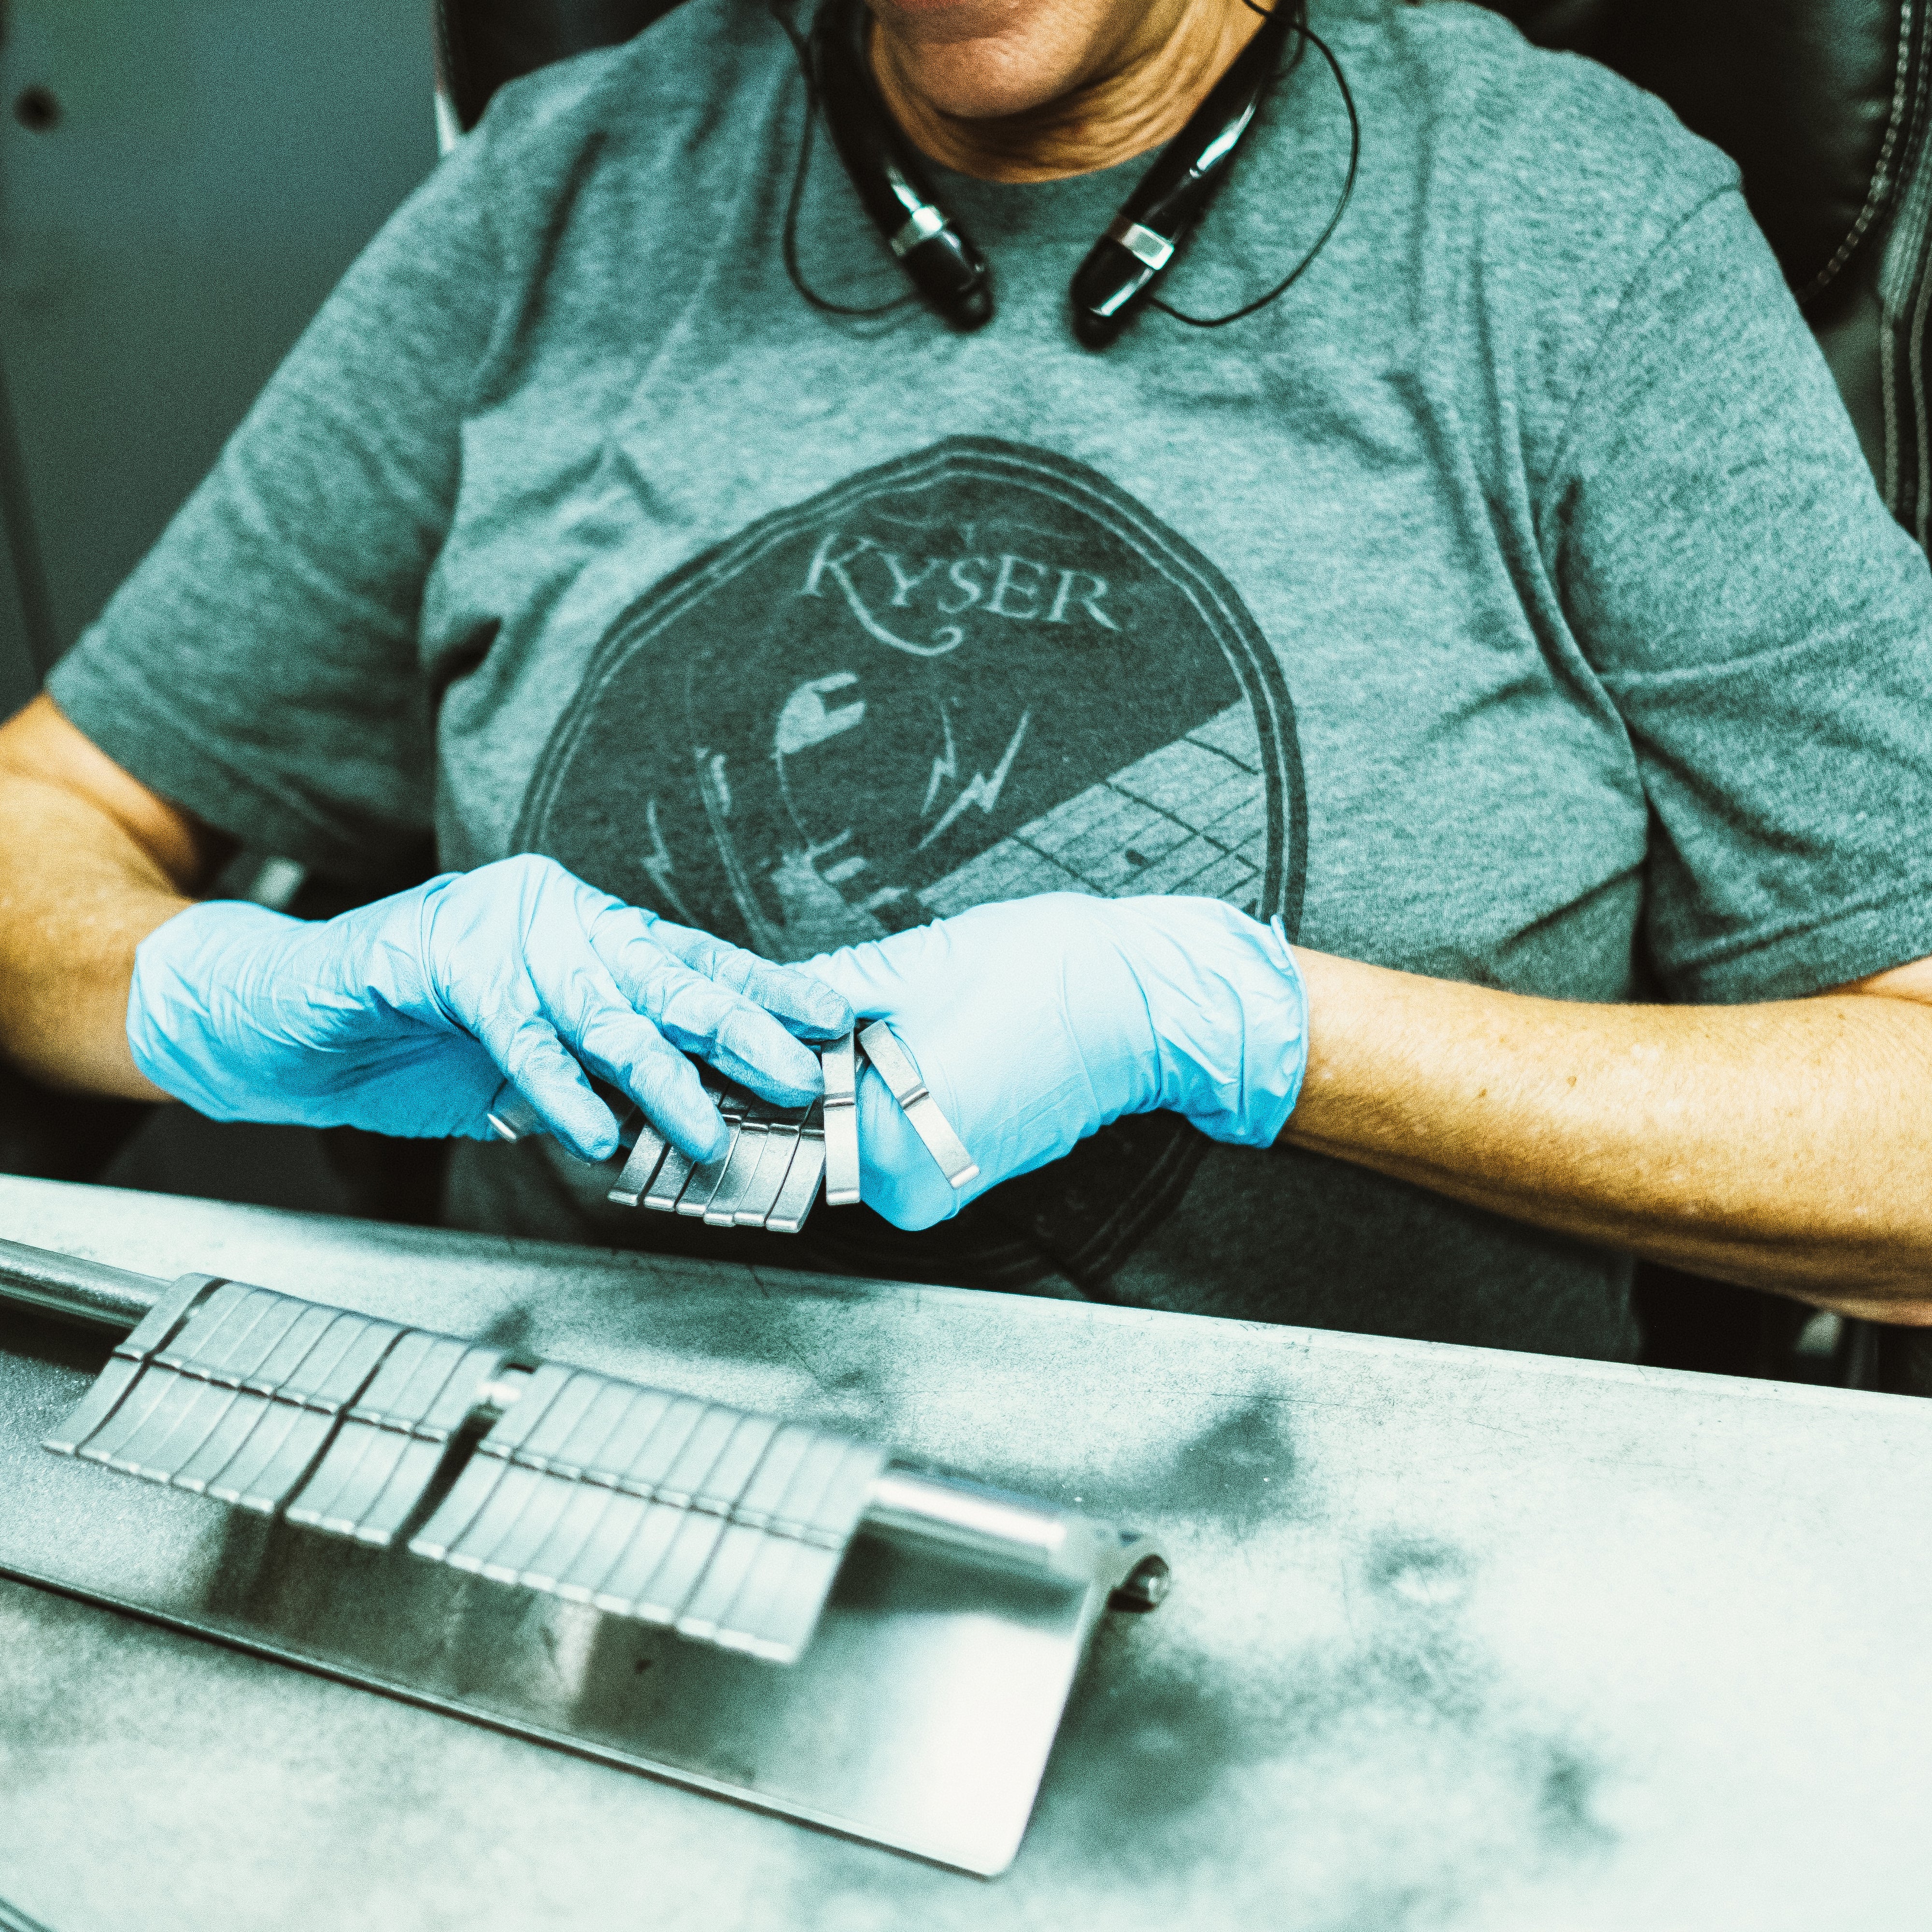
11
Assembling the Capo
After ensuring the body and handle are up to standard, the assembler mates the handle with body and makes it official using a rivet press.
12
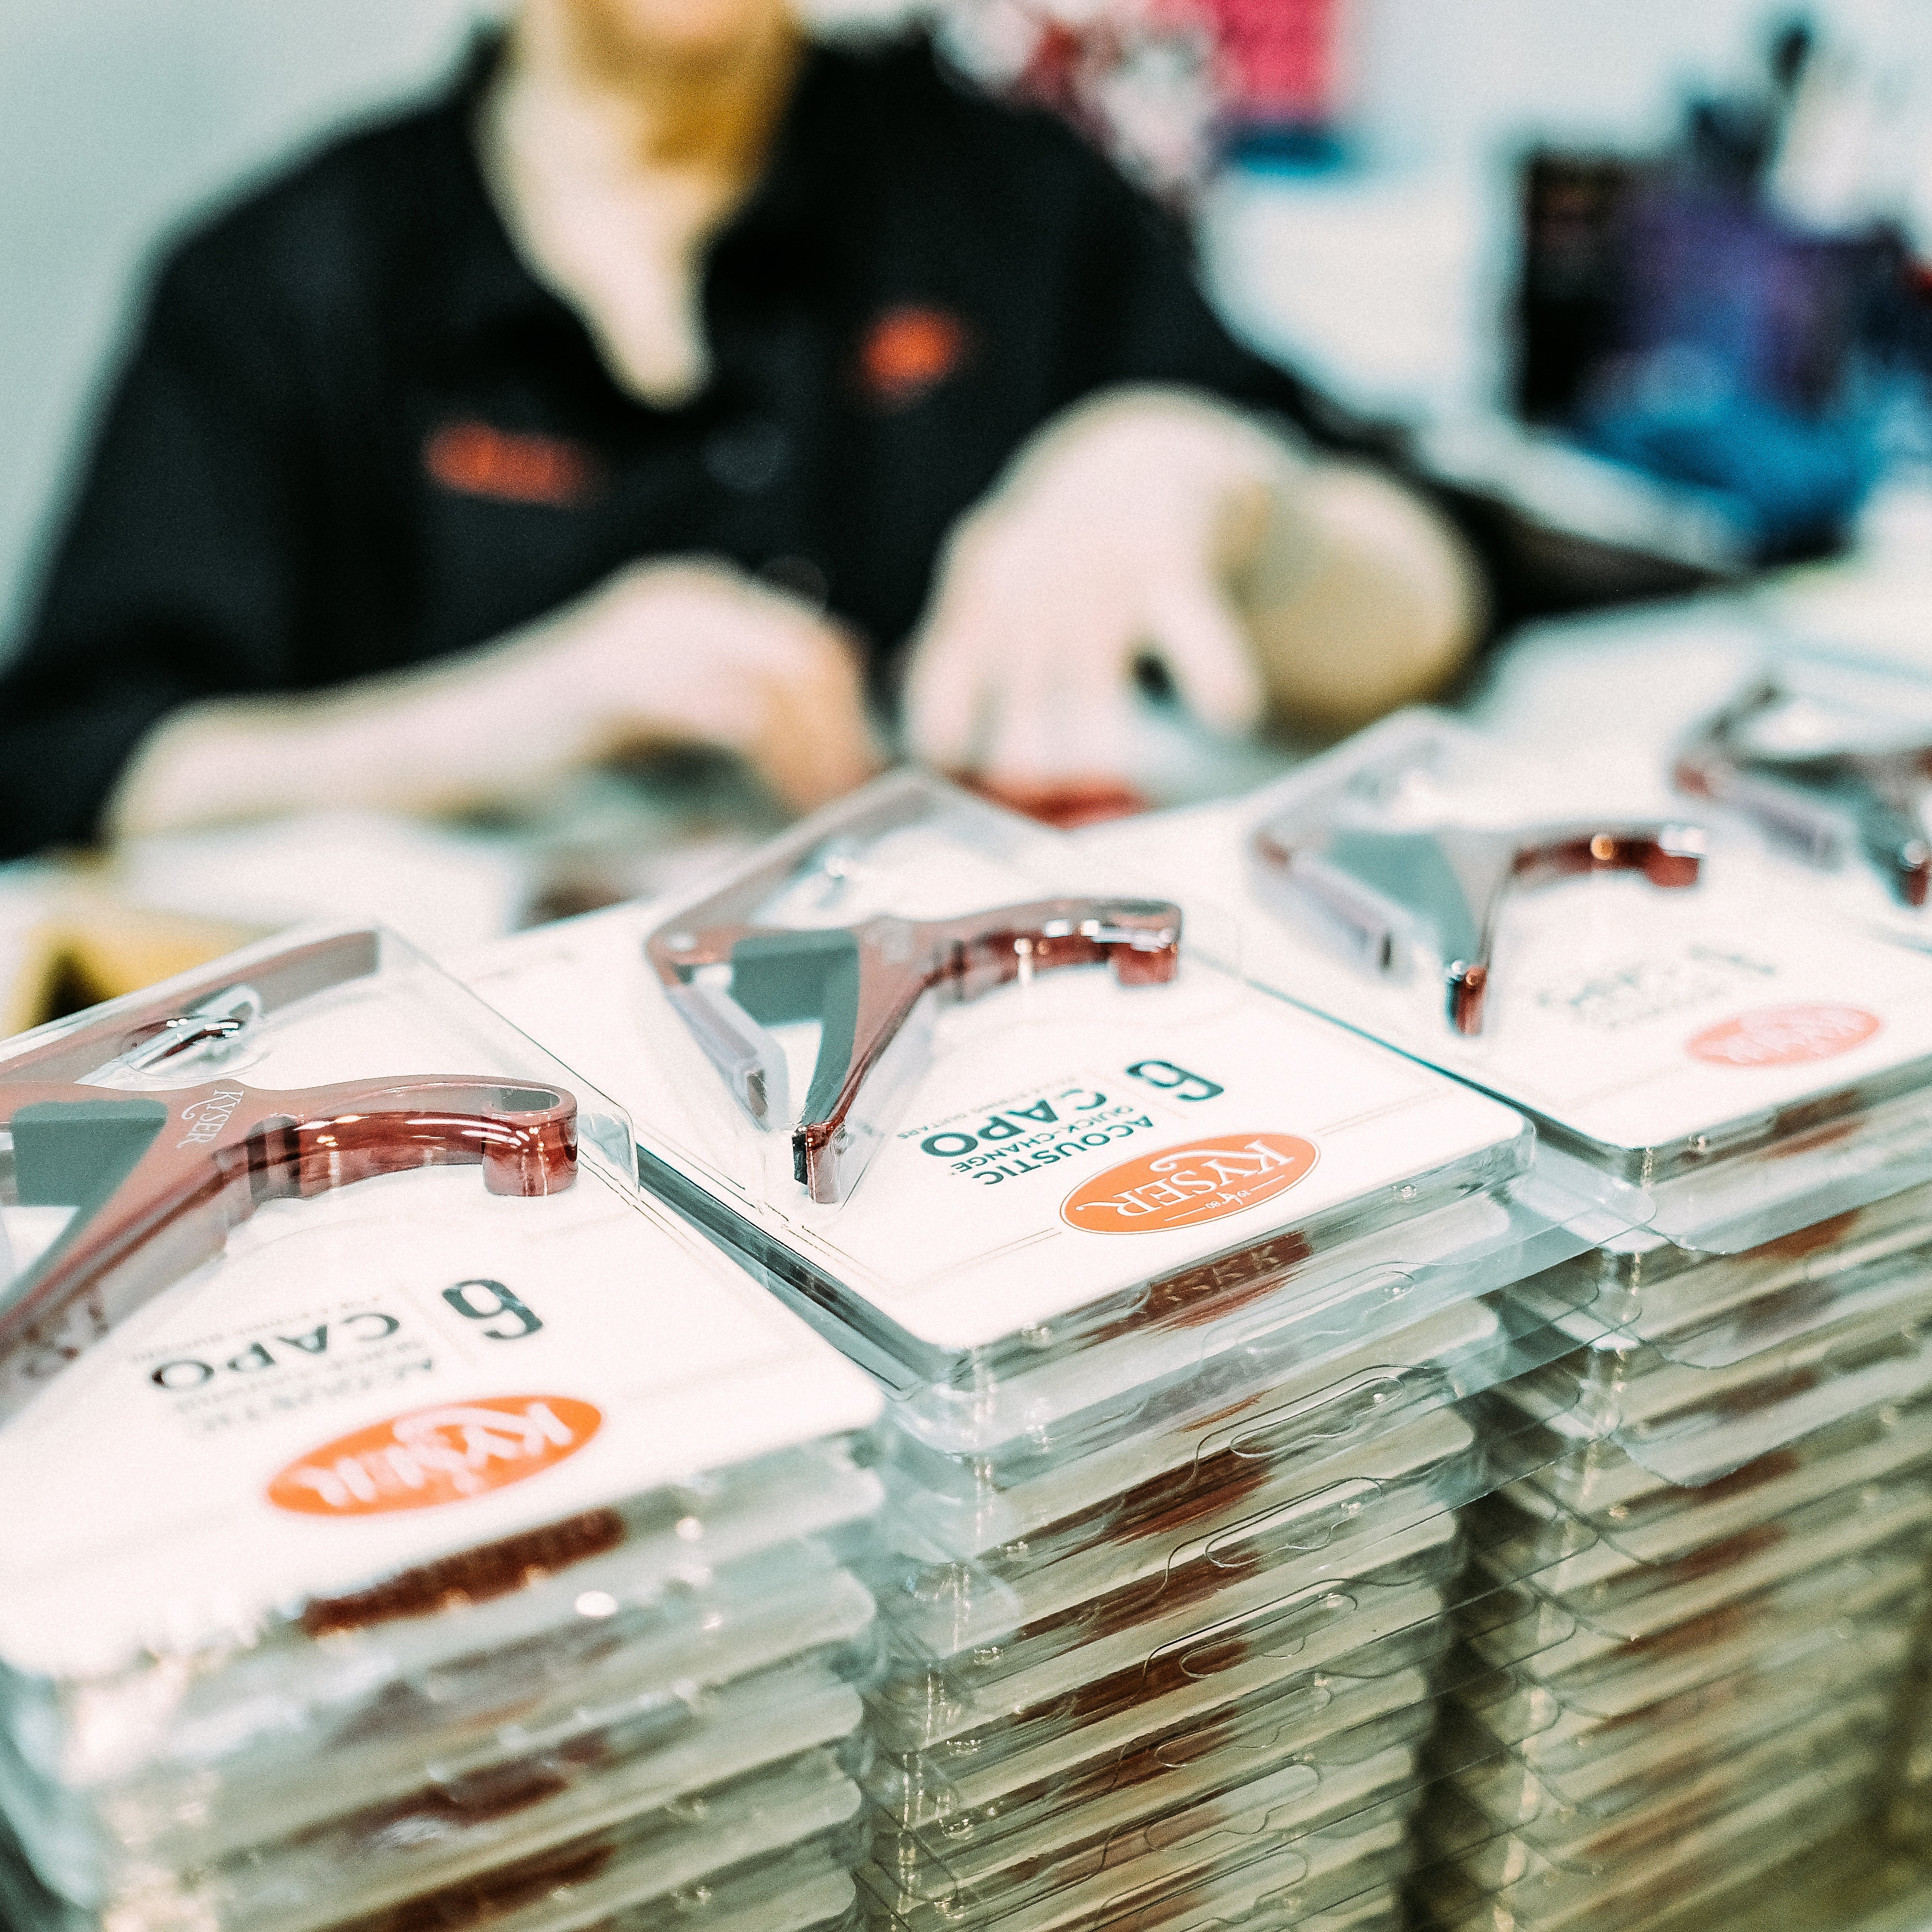
Packaging---the Final QC
If the capos pass, they are inserted into their case and sent to distribution before making their way to players across the globe.
13
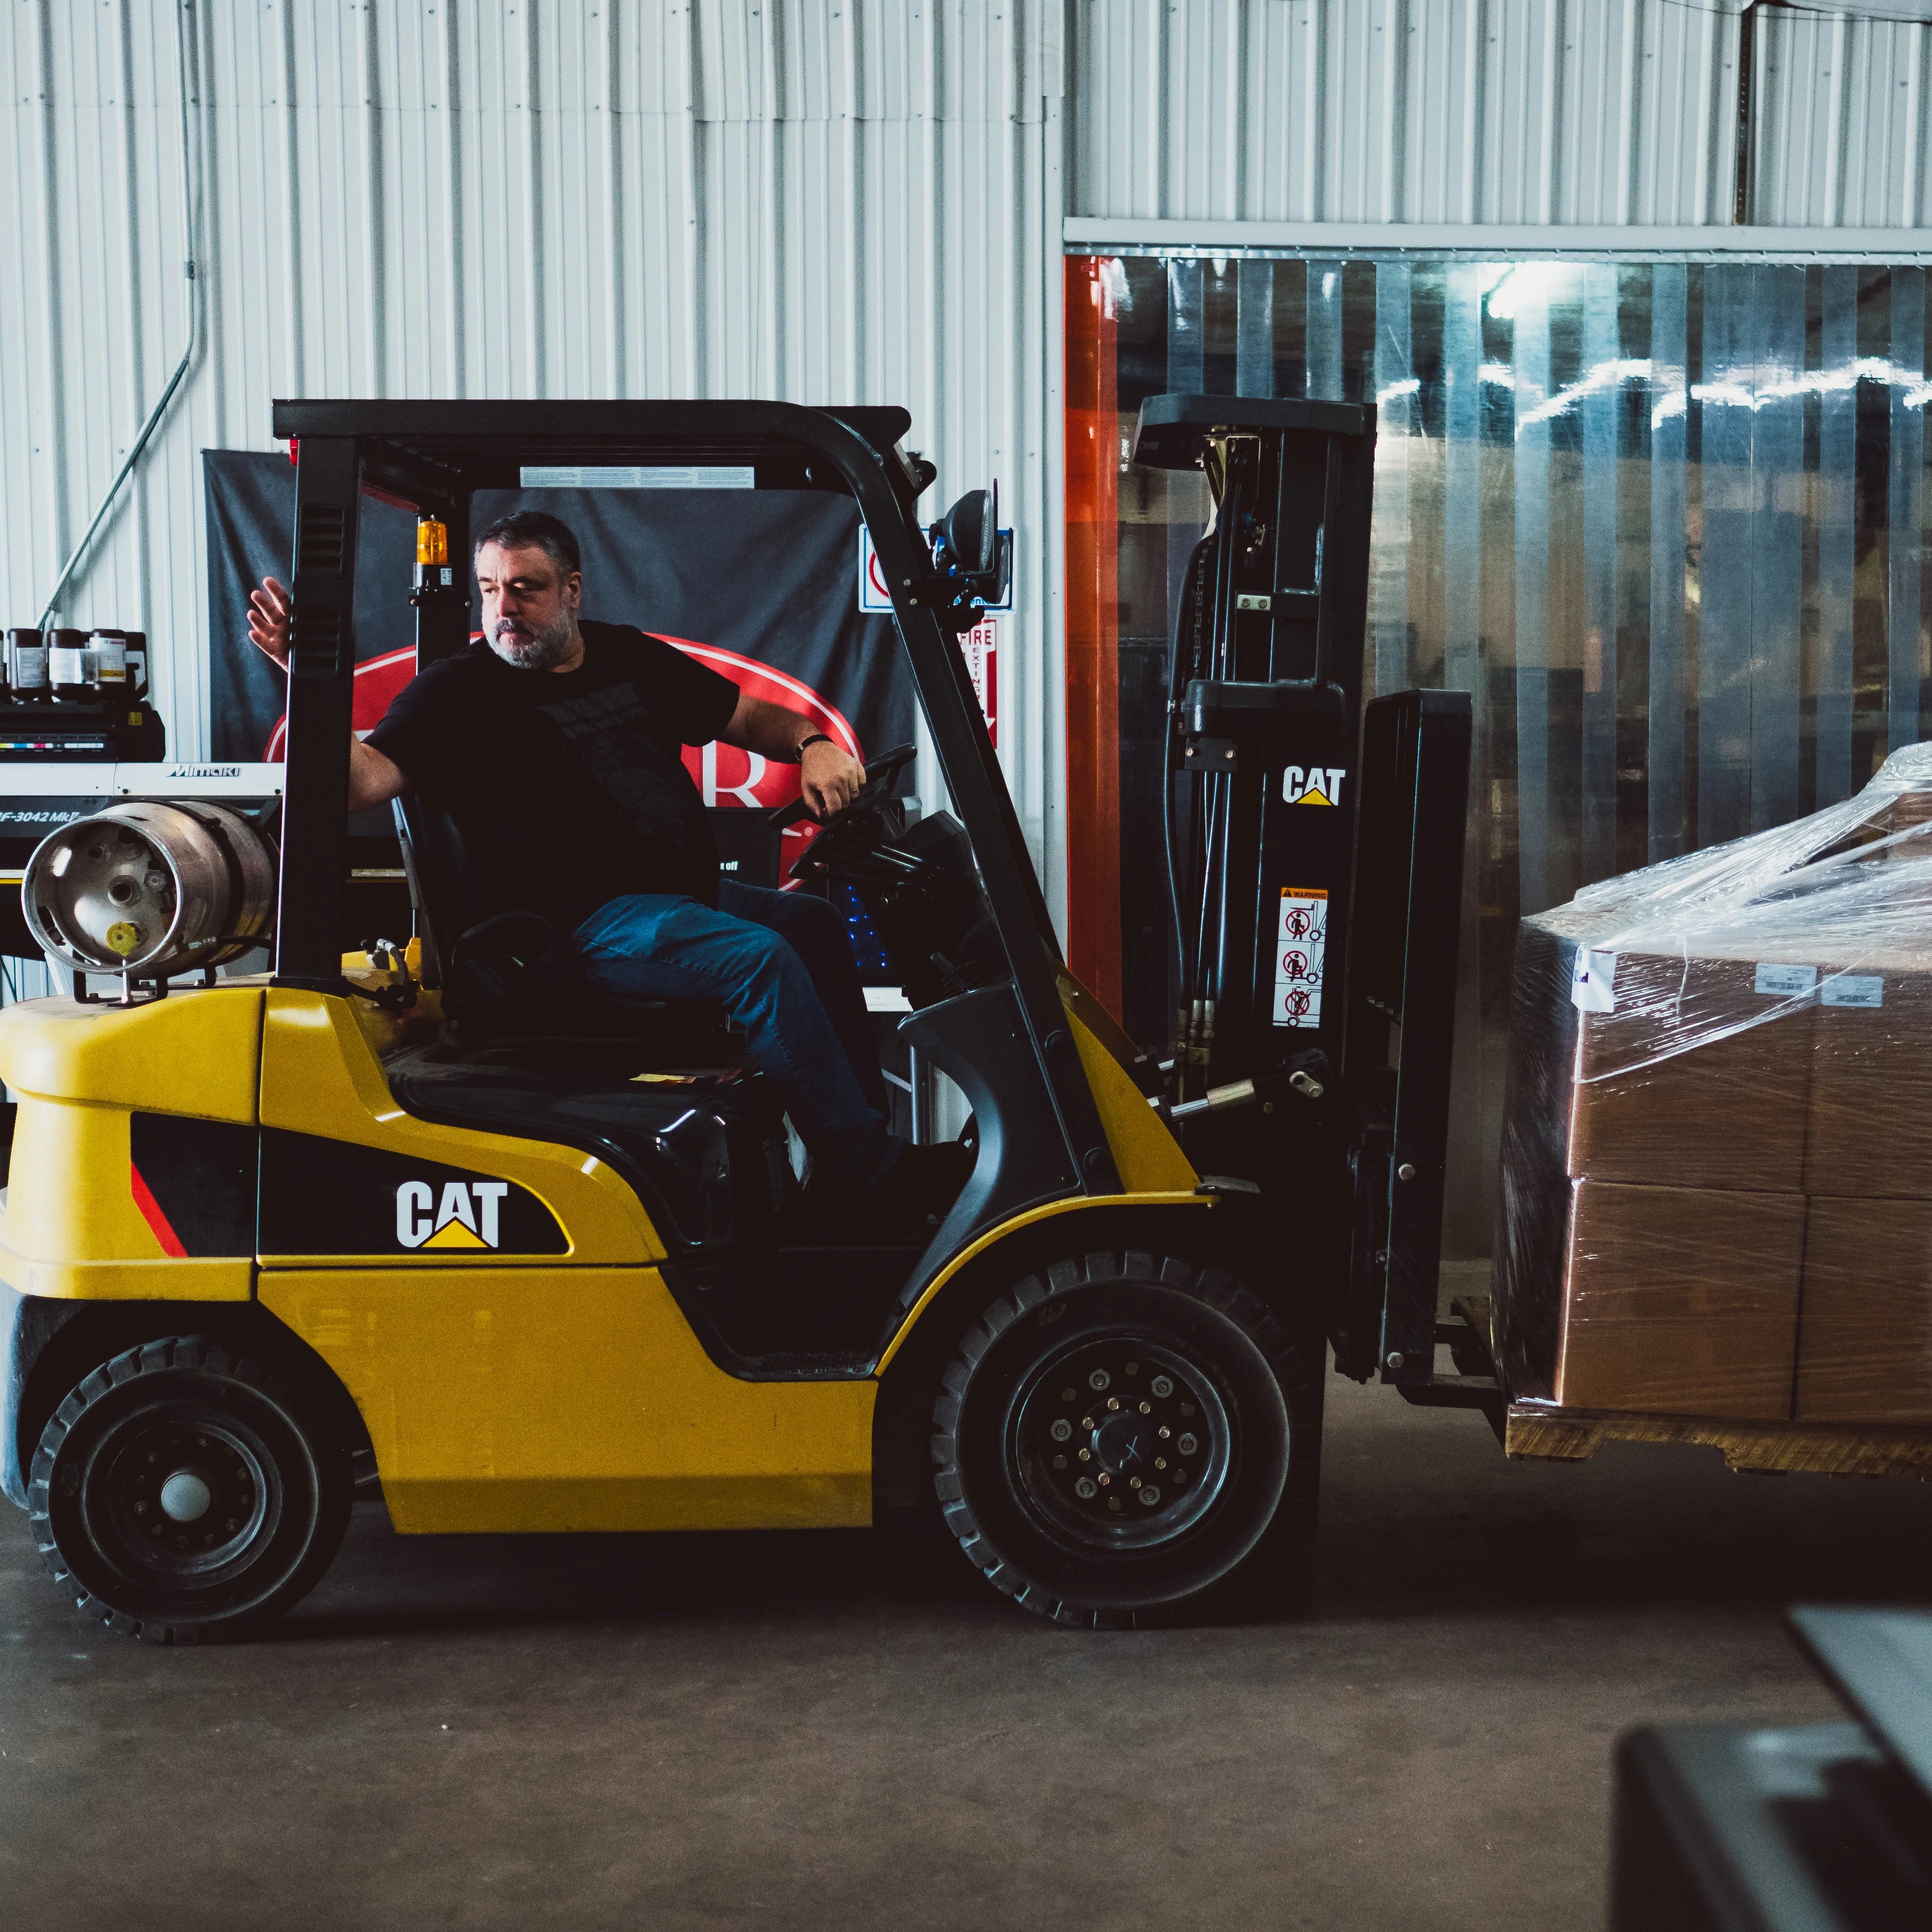
Shipped to the Masses
Our distribution team packs the product with care as it makes its way to artists across the globe.


